
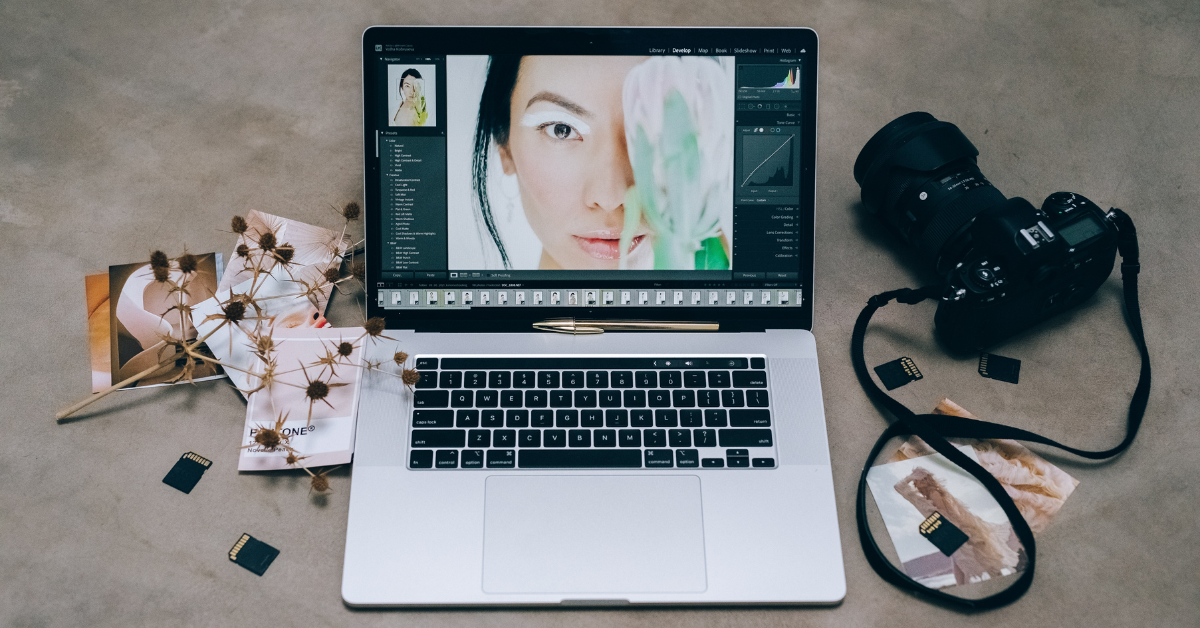
8 Problems With Your Photos You Can Fix In 1 Click
*Collaborative Post
If you love photography, whatever your interest as a photographer is: yourself, your children and pets, nature, beautiful sunsets, tourist attractions, fashion or restaurant food, you’ve probably wondered how to quickly improve the quality of your photos to post them on your social media page or on your blog right away.
In this blog post, we’ll go through the 8 most common problems that amateur photographers regularly encounter when looking at the photos they’ve just taken, and show you how they can be corrected with a single click.
1. A photo that’s too dark
If you take a photo on a sunny day against the light or in the shade, or on the contrary, if your photo session takes place at dusk or indoors in poor lighting conditions and you failed to use the correct camera settings or a flash, your photo may turn out to be too dark. Fortunately, this issue is easy to correct in post-production. If the whole image is uniformly dark, simply increase the brightness. And if it’s the subject that’s in the shade while the background or sky is well lit, you’ll have to work with the dynamic range, but with a good photo editor, you’ll be able to do it without a hitch.
2. An overexposed photo
Another common problem with photos taken outdoors in bright sunlight is overexposure, which means that your photo turns out to be too bright, with washed-out colours and details, without you realising it while shooting, especially if you’re doing this with your smartphone. The most obvious solution to this problem in post-production is to reduce the exposure level. If that’s not enough, you can work with more subtle white and highlight adjustments to bring out lost detail. Some photo editors allow you to retouch the sky separately using a graduated filter. But the simplest solution is to use a programme that has an automatic correction option capable of balancing the exposure of your photo with a single click.
3. A blurred photo
Here I have to warn you that a photo that is really too blurred, where you see the model’s silhouette doubled up or transformed into a blob with distorted features, is unlikely to be corrected even with the most powerful image editing software. I’m talking here about photos that are slightly blurred because of a tremor in the photographer’s hand, slight movement on the part of the model, poor focus during the shot or insufficient light conditions. The sharpness of such a photo can be restored in post-production by dragging the Sharpness slider and adjusting certain other sharpness parameters.
4. A grainy night shot
Digital noise, i.e. pixels that become visible in the image, is a typical problem in shots taken at night or in twilight. Fortunately, some image editors allow you to correct this fault and reduce digital noise by dragging a simple slider. You’ll need to restore the sharpness afterwards, but as you already know, that’s child’s play.

5. Dull or unnatural colours
A photo taken in low light conditions or on a gray day can display dull colours, while some poorly adjusted cameras produce images with too bright or unbalanced colours, for example, excessively red. Fortunately, it is possible to correct colour balance with a single click if your programme has the automatic correction tool, and you can always play around with sliders to adjust certain colours and hues. Another quick way to change colours and create a certain mood is to apply an instant filter. You can recreate the atmosphere of a sunny morning or a golden sunset, stylize your photo as a retro shot or a frame from your favourite film. It all depends on the possibilities provided by your image editor.
6. Poor composition
It often happens that you ask someone to take a photo of you, but they do it from too far away or by holding the camera too low or sideways. As a result, you have the whole landscape and a good chunk of asphalt in your photo, and just you or the group of people you belong to in the middle with their faces barely discernible or stuck to one of the edges of the frame. If you still want the photo as a souvenir of the good times, don’t hesitate to crop it by enlarging and centering the subject. Cropping can also help you leave unnecessary or ugly details such as rubbish bins or toys scattered outside the frame and format your photo for social networking, for example, in square format for Instagram.
7. A tilted horizon
Here is another compositional issue that can be solved by cropping the image. I’ve put it aside because it’s a common problem for beginner photographers and those who take photos in a hurry and never use a tripod. The tilted horizon is typical of landscape photography. If this is not the artistic effect you were looking for, correct it in post-production. Simply rotate and crop your photo slightly, provided your image-editing software offers some geometry tools.
8. A portrait that could be more glamorous
Let’s now move on to the more delicate problems linked to the appearance of the people represented in your photos, whether they be yourself or those close to you. Excessive shine on the face, redness or a little pimple on the forehead – it doesn’t take much to make us want to throw the photo in the bin and never see it again. But in reality, thanks to modern photo editors, you can retouch the skin and make it smooth in seconds. The same goes for smiles: you can whiten teeth in a flash and even slightly raise the corners of the lips to give the model in your photo a cheerful appearance. There are even programmes that allow you to tweak facial features with a simple slide of the cursor.
So don’t be in a hurry to throw away a photo you think is a dud, especially if it’s one of a kind and can’t be reproduced – try to touch it up and improve it as much as you can. It’s easier than you think, provided you have a suitable tool at hand, like the automatic photo enhancer you can find by clicking on the link above. This programme is capable of solving all the problems listed above and many more besides. Try it out for yourself and make all your photos perfect in just one click.
*This is a collaborative post. For further information please refer to my disclosure page.
Related Posts:
Meme Editing with Your Friends

Creating funny memes, GIFs, and face swaps with your friends and relatives can be a fun and an entertaining way Read more
Review: Creating Memories with Photowall

*Gifted Product With William arriving prematurely, it has been a very different experience to what it is usually would be Read more
12 Essential Gear for Sports Photography

In sports photography, you get one chance to capture moments of glory, defeat, elation, or anguish. That’s why when you Read more
7 Creative Ways to Teach Family History to Children
Family history is a treasure trove of stories, lessons, and connections that can enrich a child's understanding of who they Read more