
How To Make Salt Dough Dinosaur Fossils
When it comes to home learning, having fun always works the best for us and if I can find an activity that can be done by both a 6 year old and a 2 year old then it is a winner in my book! Today we decided that the theme for our homeschooling session would be dinosaur focused and fossils sprung to mind. It’s one thing trying to explain to a child what a fossil is but it is quite another being able to show them (in a way). This is such a quick and simple activity and if I can do it (and get it right!) anyone can. Here is how to make salt dough dinosaur fossils…
Recipe
A quick internet search told me that the easiest recipe is:
- 250g plain flour
- 125g table salt
- 125ml water
First, turn your oven onto the lowest setting so that this is all ready once your dinosaur fossils are completed.
Mix the plain flour and salt then gradually add the water until you get a nice doughy consistency. Use your hands to knead the dough to ensure that it is fully mixed and to check that it can be easily moulded. If it is a little dry still just add a touch more water. If you’ve overdone the water try sprinkling a little more flour over it to absorb the moisture.
Once you are happy, it is ready for the children to start work on.
Making Fossils
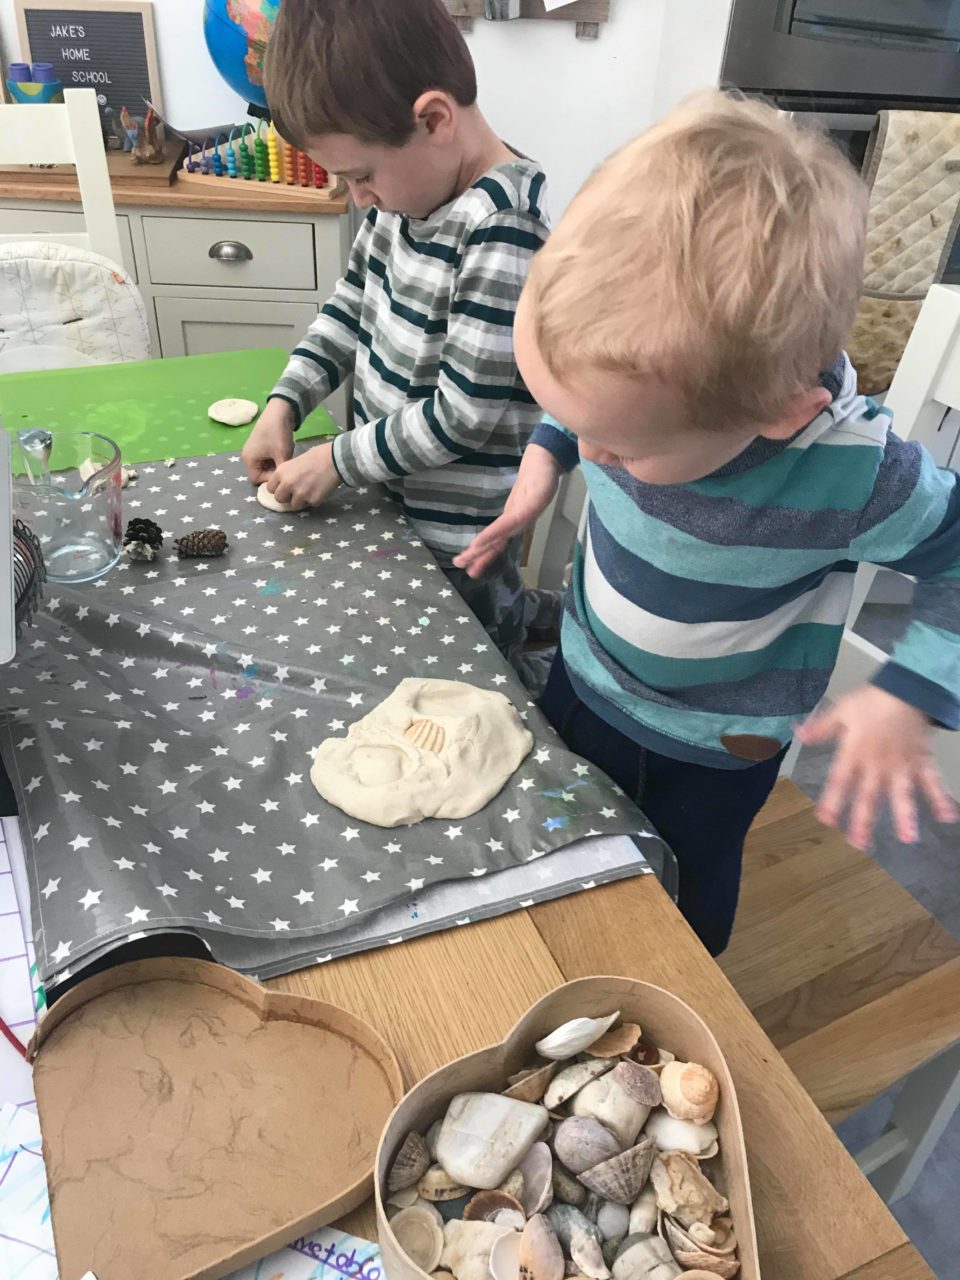
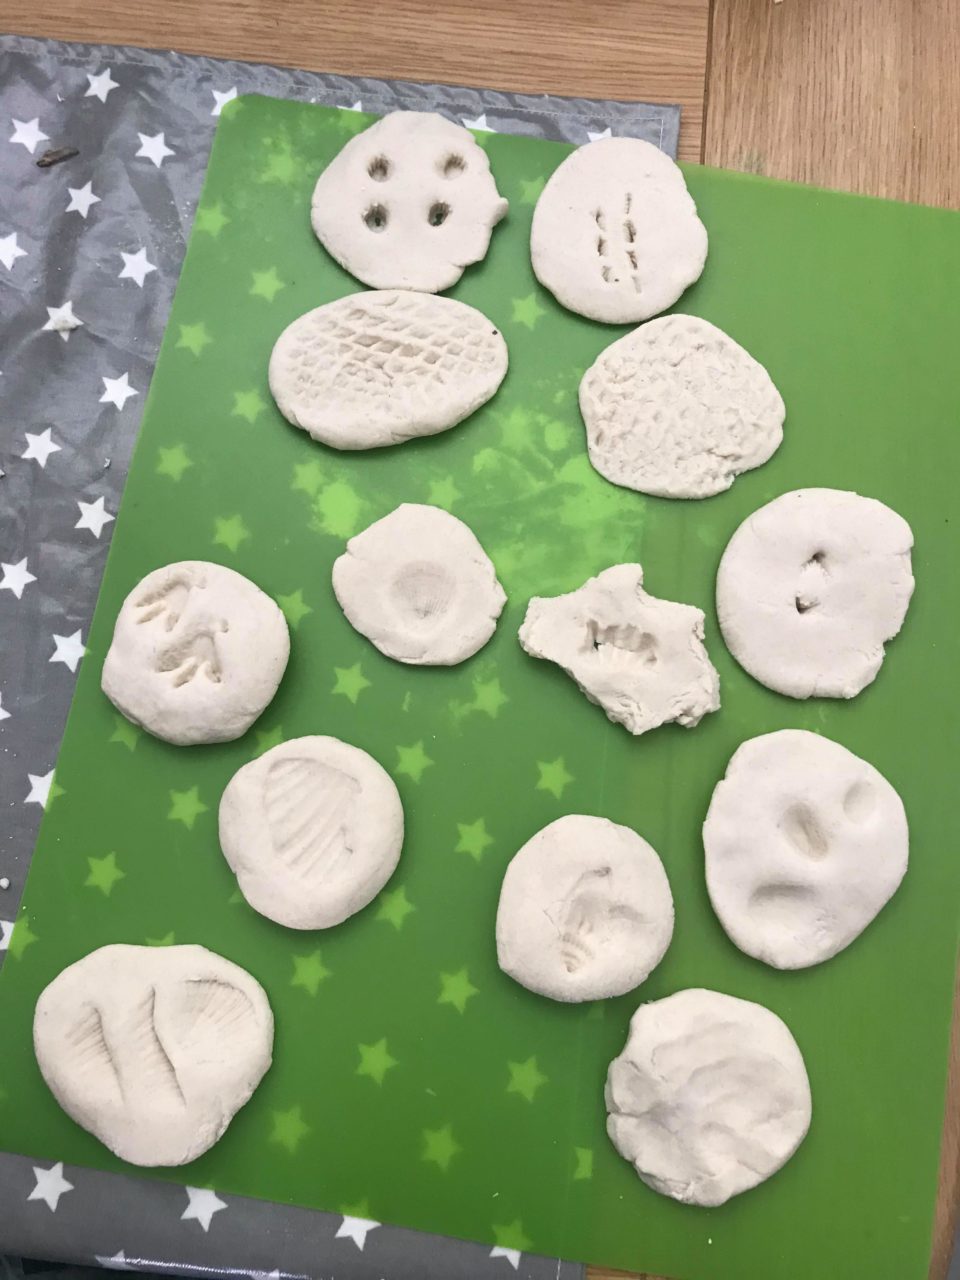
The joy of all of this is that you can use practically anything to make shapes in your dough. Simply separate the dough into smaller pieces and flatten them slightly, using your hands. Take the object you’d like to get an imprint from and ask your children (or help them) to gently press it into the salt dough. You don’t want to go all the way through as holes can cause cracks and breakages once in the oven. The imprint does need to be deep enough to have a lasting effect though. If you get it wrong it really doesn’t matter. Just roll it all back up into a ball and start again.
We used shells, toy dinosaurs, fir cones, our fingers and stones to get our dinosaur impressions.

Baking
Cover a baking tray with greaseproof paper and lay your salt dough dinosaur fossils on the top. Place these in the oven for 3 hours or until set.
Painting
You can either choose to leave your dinosaur fossils as they are, you could varnish them to give a nice shine or use acrylic paint to add some colour. It’s up to you!
And that’s all there is to it. Easy peasy home learning fun for all ages.

Pin for later:
Related Posts:
‘The Year We Muddled Through’ Book Review

*Ad This last year has been a whirlwind of changes, new routines, new ways of getting by, dealing with a Read more
Why We Are Taking Our Child Out Of School To Go On Holiday

Ok, so as you know by now we are off to Florida in March. What I haven't mentioned is the Read more
Choosing the Right Bed for Your Baby

Selecting the perfect baby bed for your newborn is an important decision for parents. A baby bed is where your Read more
Mummy Can We Pleeeeeease Get A Dog? (Considerations Before You Say Yes)

*Collaborative post It's a request that most parents have heard at some point - can we get a dog?! Yes, Read more