How To Create a Fun DIY Rainbow Door in Your Home

One evening as I was putting my son to bed, he said “When I’m older I’m going to have a brightly coloured house with rainbow doors”, so I replied with “Why wait?” If you’d like a rainbow door, let’s see what we can do. And after a little internet search, we had some ideas and put them into action. Here is how we created a fun DIY rainbow door within just a few days…
The Inspiration
First off, it does help to get a little inspo before starting this transformation. There are a lot of options online from using stickers to painting stripes, having a whole mural to simple rainbow curves across the door but as soon as my son saw this image from Pinterest, he was adamant this was the look he wanted (minus the glitter):
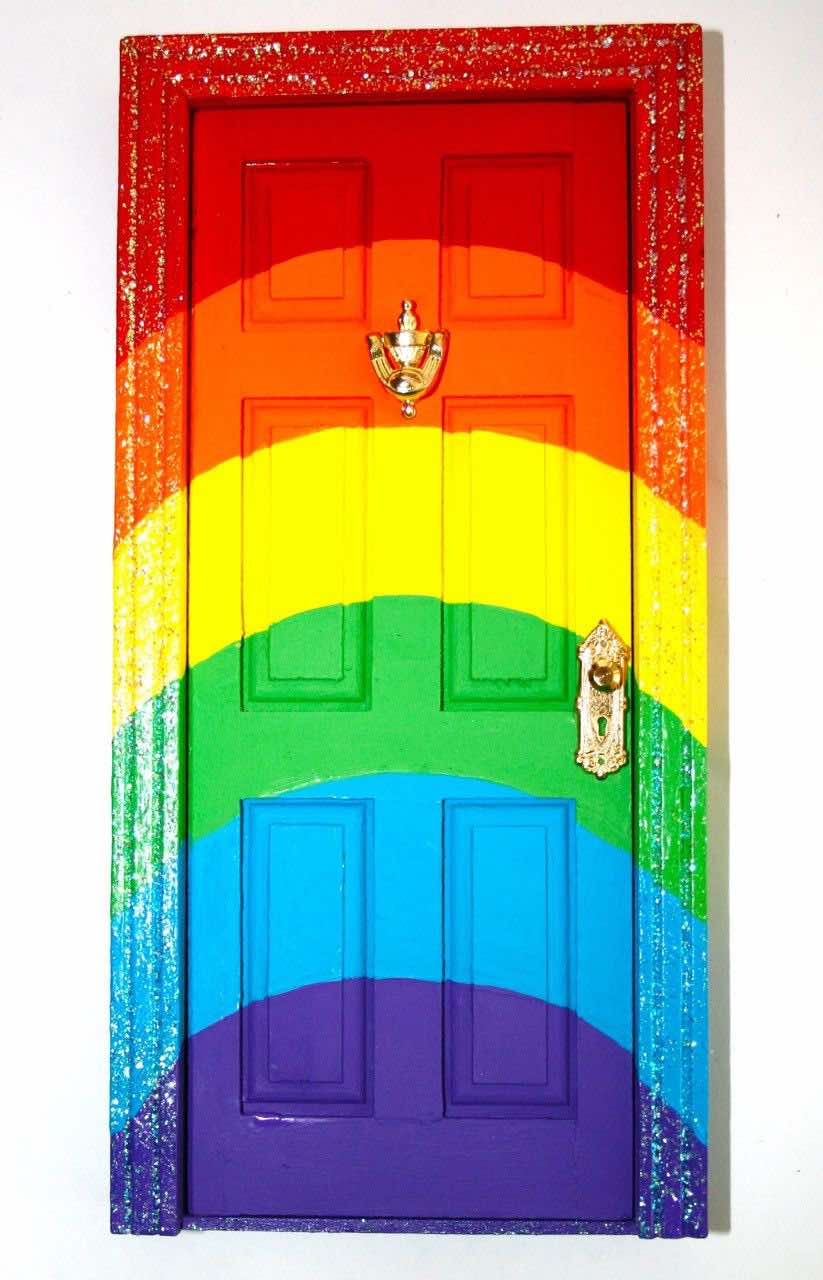
So, off we went to the hardware store to see what we could find to recreate this. The look on the staff member’s face was priceless I have to say! He couldn’t believe that was what I wanted to create and he really wasn’t sure we would be able to find all the shades but he was eager to help. He explained that gloss doesn’t come in these colours, that normal wood paint is mostly just white in their store and that the best options would be chalk paint. Now, I have used chalk paint a lot over the years so I was aware that it’s not always the most hard-wearing BUT it does go on lovely and gives a nice finish. Luckily, the store did stock a good range of Annie Sloan shades and after a lot of deliberation, we selected the colours and also picked up a primer and sealant as well as some slanted brushes.
Annie Sloan colours chosen: Emperor’s Silk, Barcelona Orange, English Yellow, Antibes Green, Giverny, Rodmell
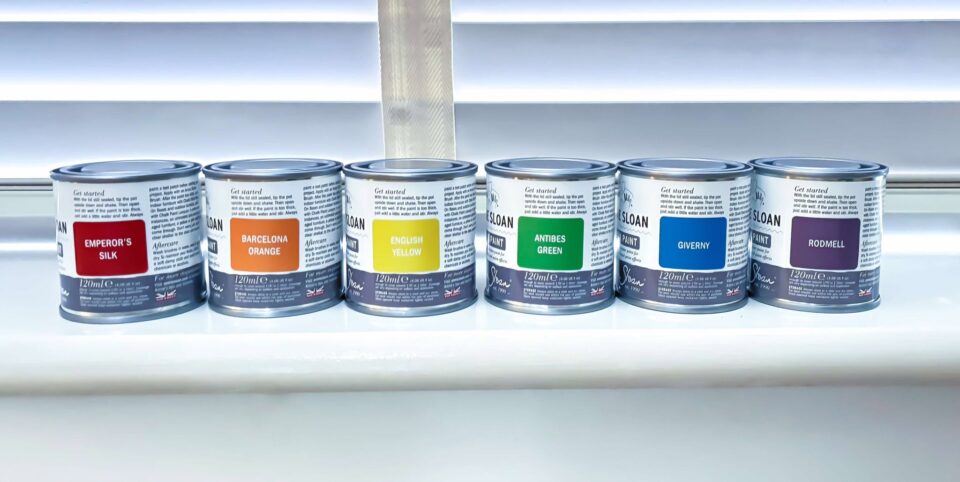
You may have noticed that the design we chose only has 6 colours. Now we did look at whether we should add the 7th but my son was insistent that we followed our inspiration photo and to be honest, the shades of purple that were available in the shop may have just blurred into one another.
Creating The DIY Rainbow Door
Prep
The first job is to prep the door. Most interior doors (especially in the UK) are finished in a white gloss and other paint types won’t stick to this so the first step is to take a coarse piece of sandpaper to it and give the entire door a good rub down. This will help to remove the top layer, and any flaking areas of gloss and leave a roughed-up surface for the chalk paint to adhere to.
Tip: Remove the door handle before you start and lay down dust sheets.
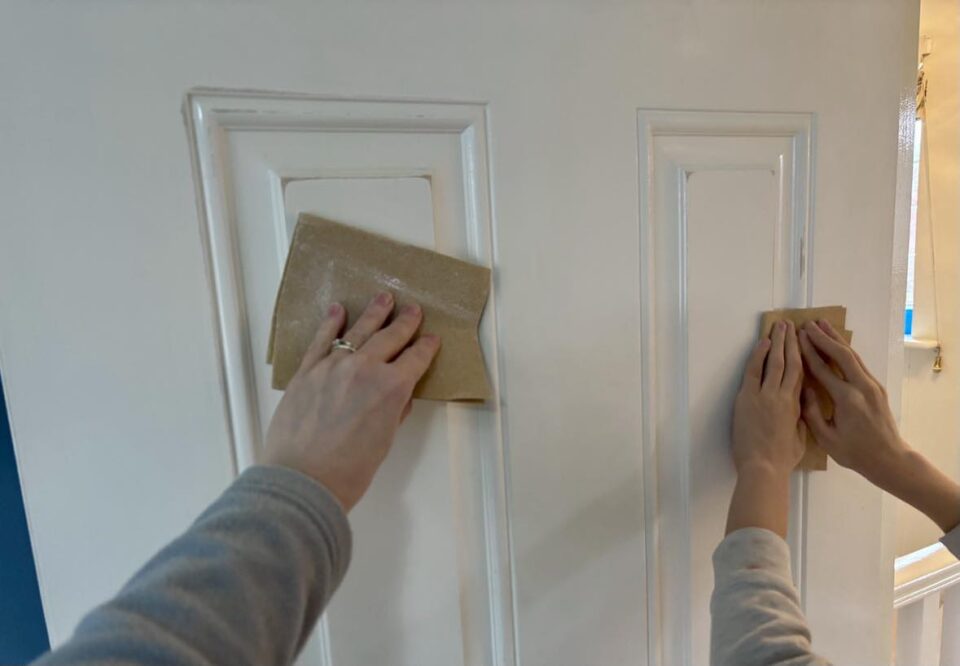
Once complete, take some soapy water and a clean cloth and give the whole door a really good clean. This is to remove the dust you have created and also any dirt that may discolour your paint.
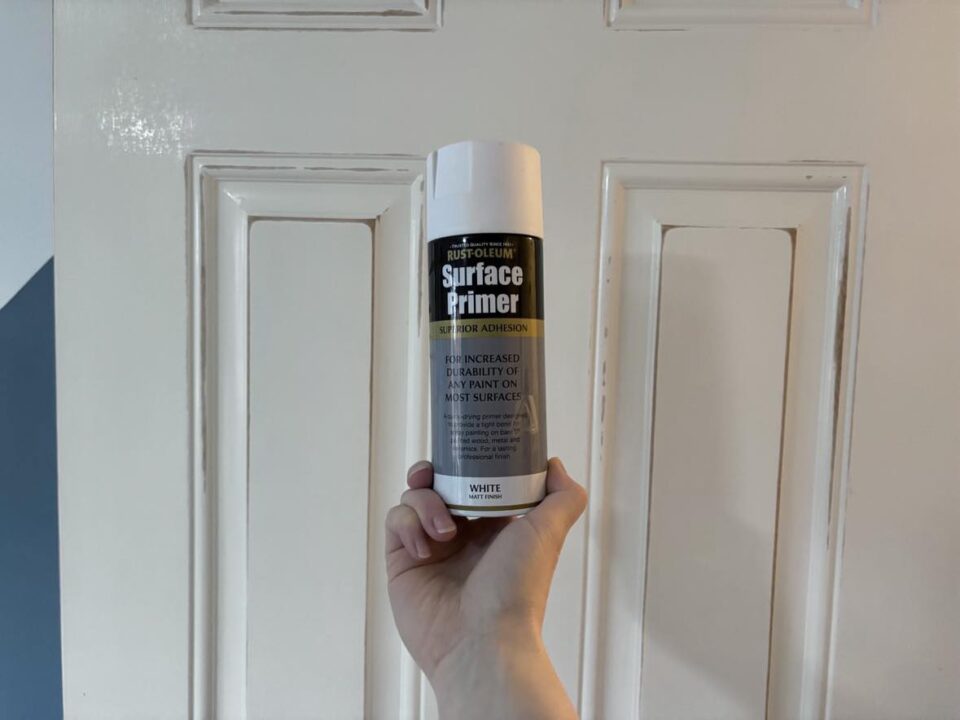
The final stage of prepping is to coat the door in a good primer. We chose a spray on version by Rust-oleum (another chalk paint brand) as I felt this would be quicker and less messy than paint. My tips after using this is to open all your windows and to wear a mask because it is quite strong. We applied it twice to get good even coverage and luckily it does dry very fast meaning you can get on with your designing soon after.
Creating The Rainbow Design
This is probably the most tricky part of this DIY door – getting that rainbow curve (almost) perfect and I would definitely recommend getting someone else to help you with this.
First of all, you will need to measure your door and then divide it by the number of colours you are using (in our case 6). Then take this figure to measure down the door where each rainbow curve needs to start and end. The next steps are as follows:
- Tie a piece of string around your pencil
- Place the point of the pencil on your starting point
- Carefully map out how high you’d like your curve (don’t put the pencil down just yet). Get the other person to pull down on the string, holding it against the door until you are happy with the height
- Now push the pencil against the door and keeping the string pulled tight, sketch the rainbow curve up and across to your end point that you marked
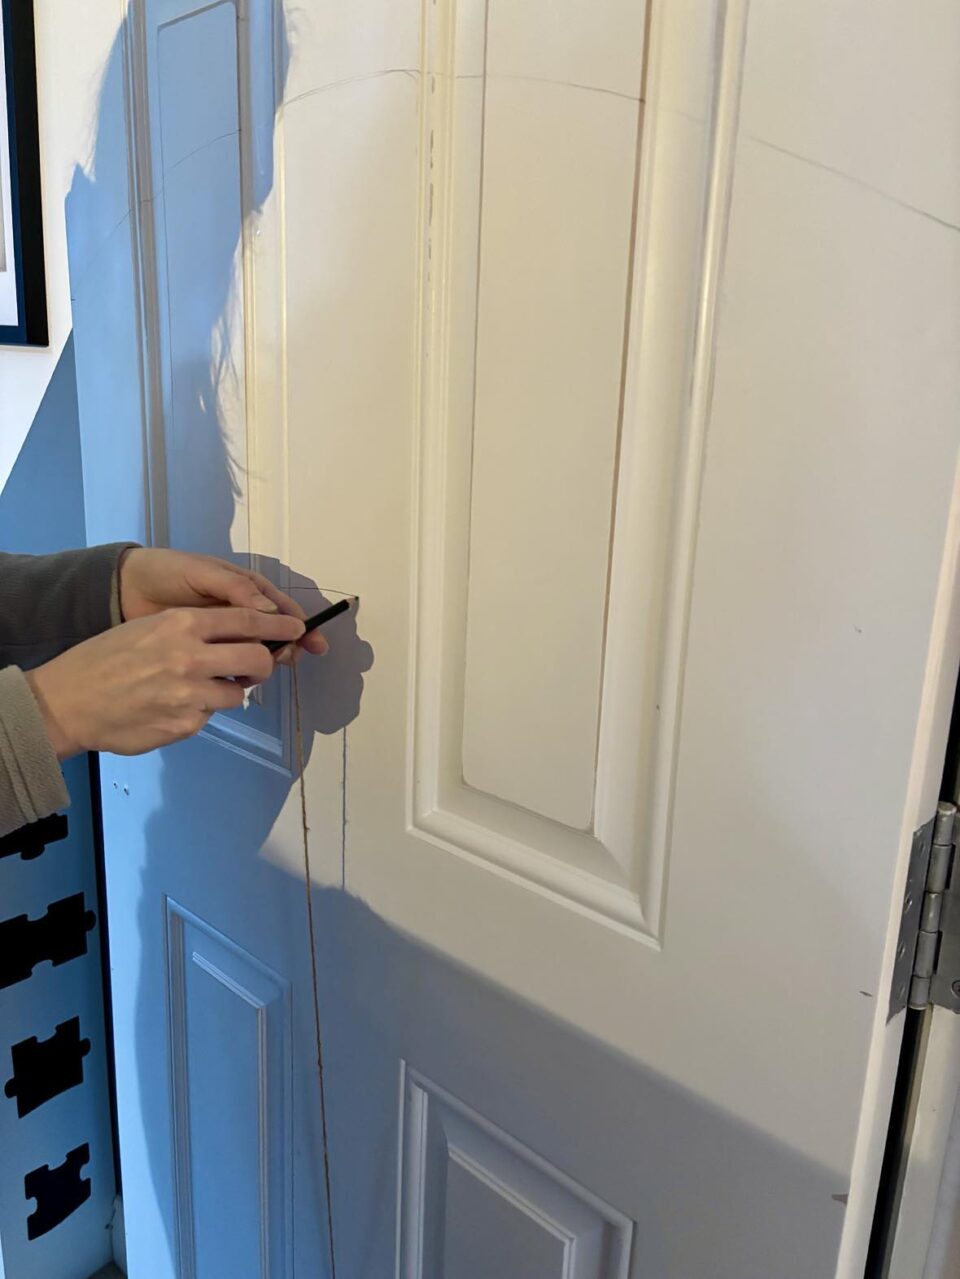
If your door looks like ours, you’ll notice that the design can make it a little trickier to get your sketched curve exactly right. All I would say to this is to keep your outline as a guide and to tidy up the overall look once you get painting.
Painting The Rainbow
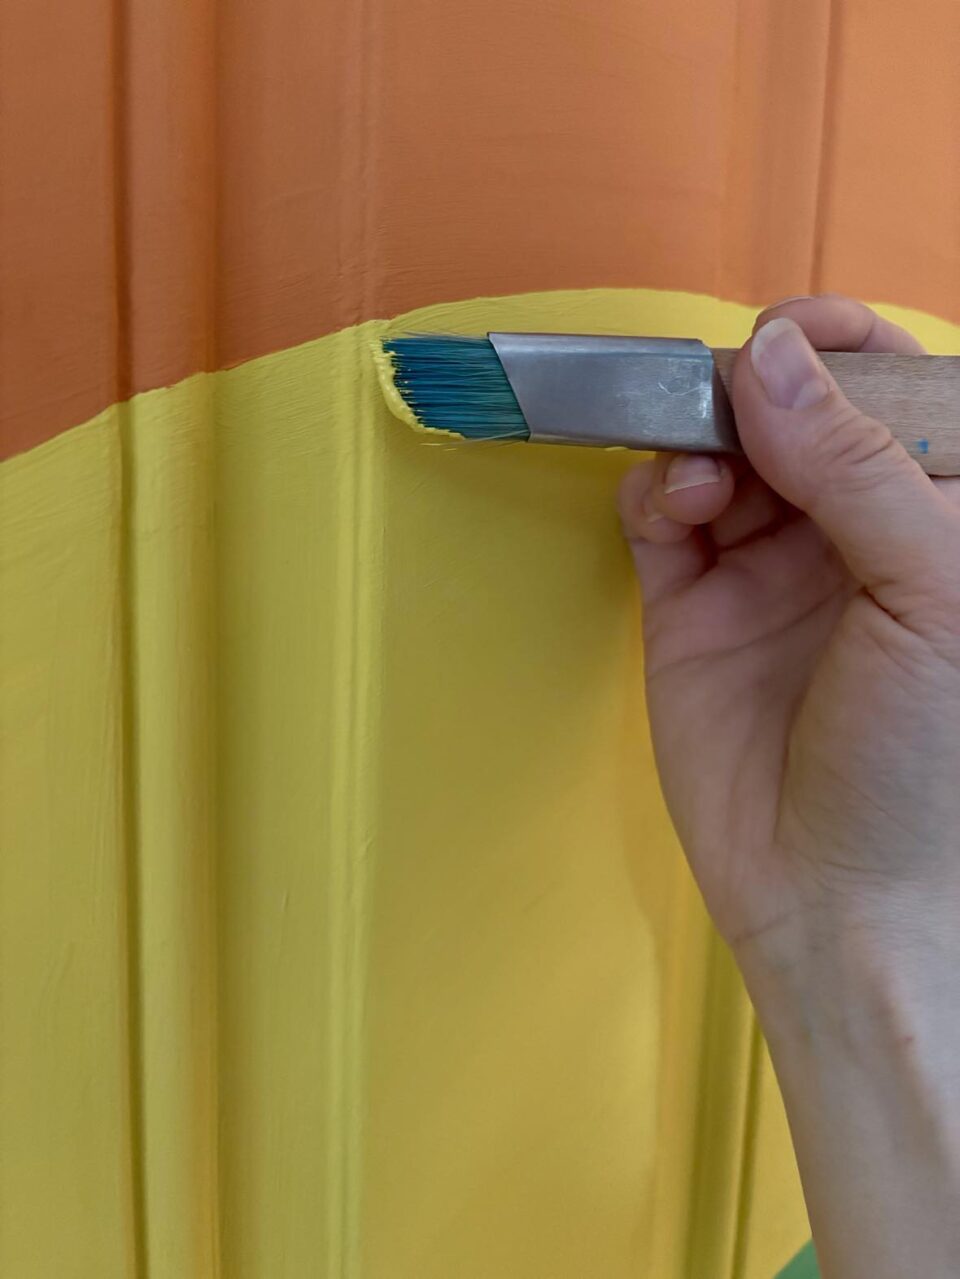
Onto the fun part!! It is time to get painting. I chose to use a brush for the whole thing but this was mainly because of the shapes in the design of the door. A roller would have probably been faster and given better coverage but I knew I would have to use a brush in places and worried that the stroke marks would have been obvious against the smooth rollered areas. Brushing did take a while and did require around 3-4 coats (colour-dependent. I found some colours went on beautifully whilst others were of a tricker consistency) but I do think it was worth it.
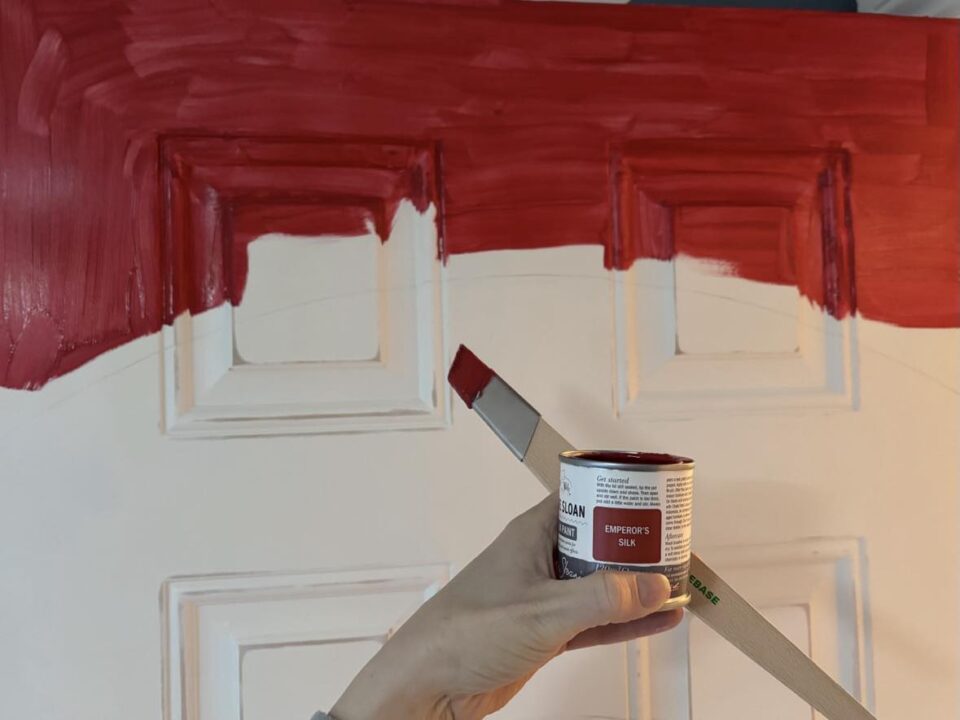
After the first coat, our door looked like this:
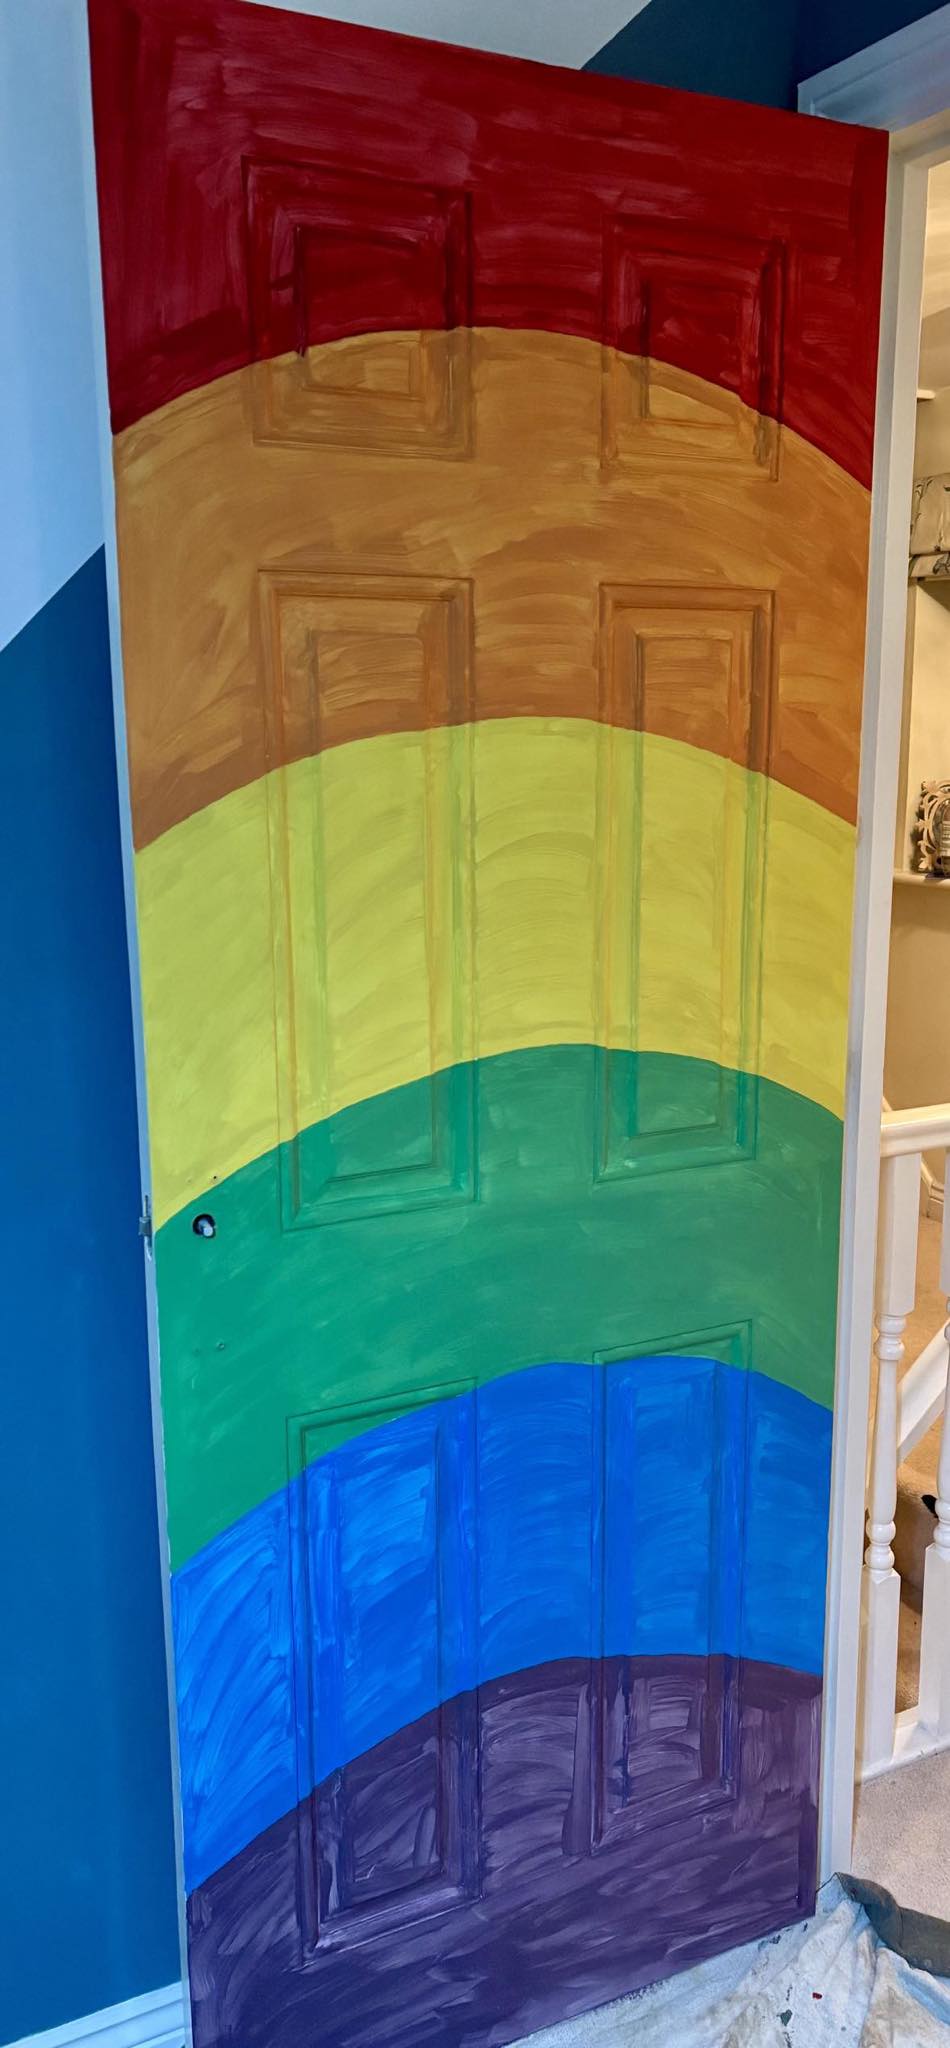
I was really pleased with how this looked (I honestly thought it was all going to go wrong!) And after two coats it looked like this:
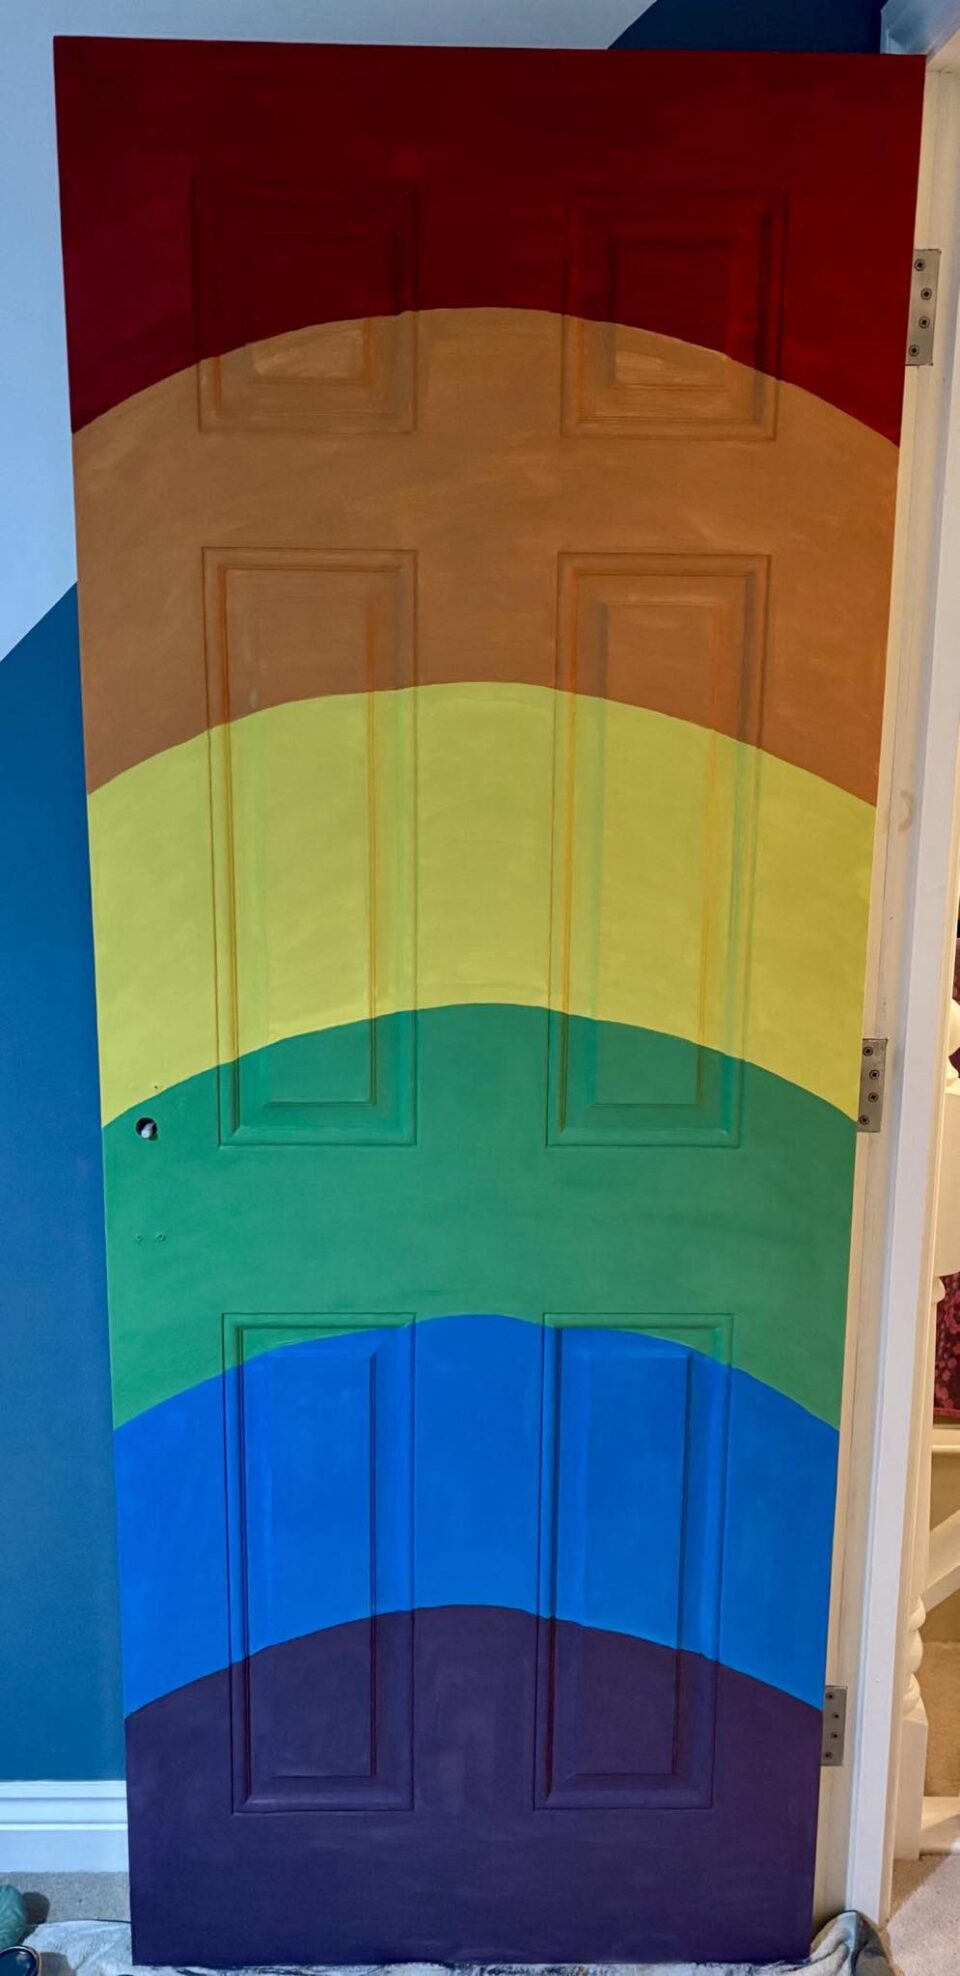
Once I added a third coat it was time to get in and tidy up the edges and those curves. This can be really fiddly and you have to be careful not to go overboard because you can end up ruining the whole shape. The great thing about chalk paint IS that it washes off so if you do go a little wrong you can use a soft wet cloth to dab it away.
The Finishing Touches
Once you have tidied up and maybe even decided to paint the side of the door or maybe the frame too it is time to wait for everything to dry and then seal the chalk paint. I opted for a spray again simply because I have used wax in the past and messed up the overall look so I wanted to give this a whirl and see if it was easier to apply because the last thing I needed was to ruin the door at the very end!
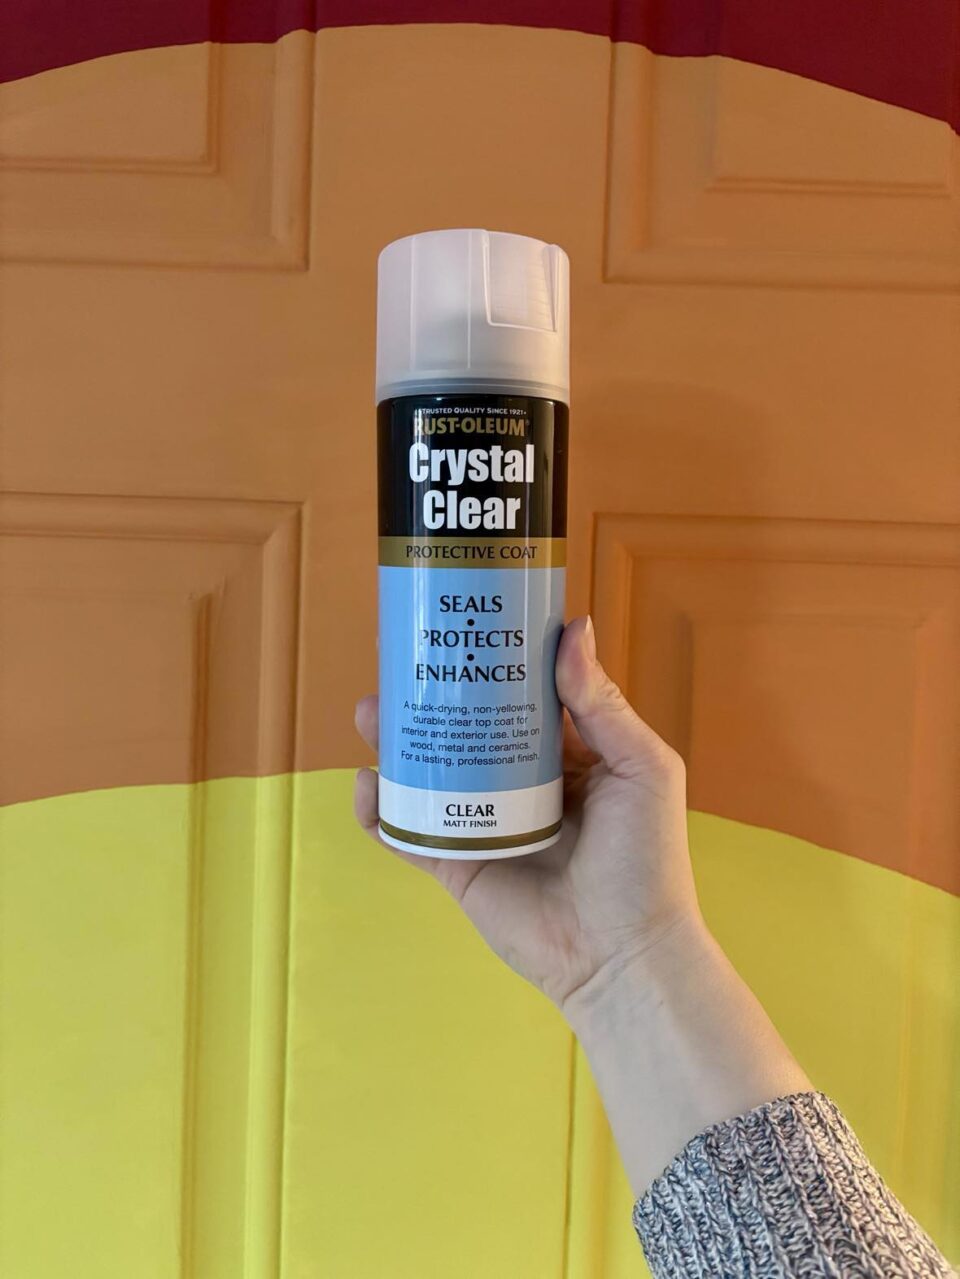
Again, just like with the last spray, open the windows and wear a mask with this, it has a very strong smell. Apply this evenly and do a couple of coats to ensure your chalk paint is sealed. I also wanted to add that this spray comes in both a matt and gloss finish, we opted for matt as that is what my son decided on. If you’d prefer more of a shine, go for the gloss option.
The Finished Result
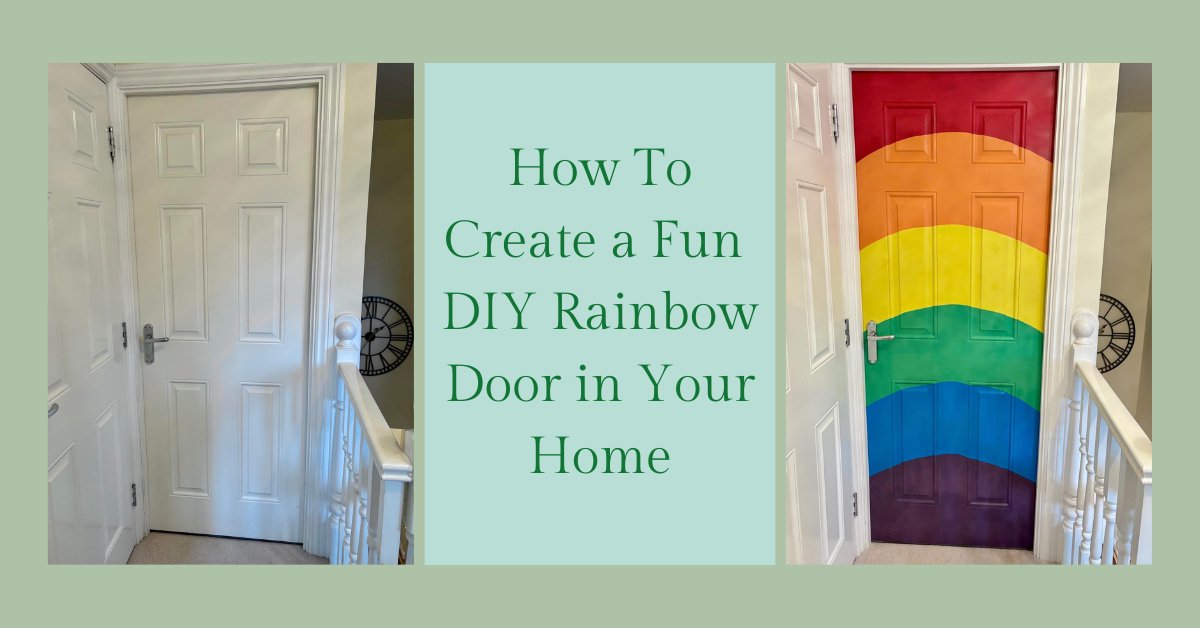
A little before:
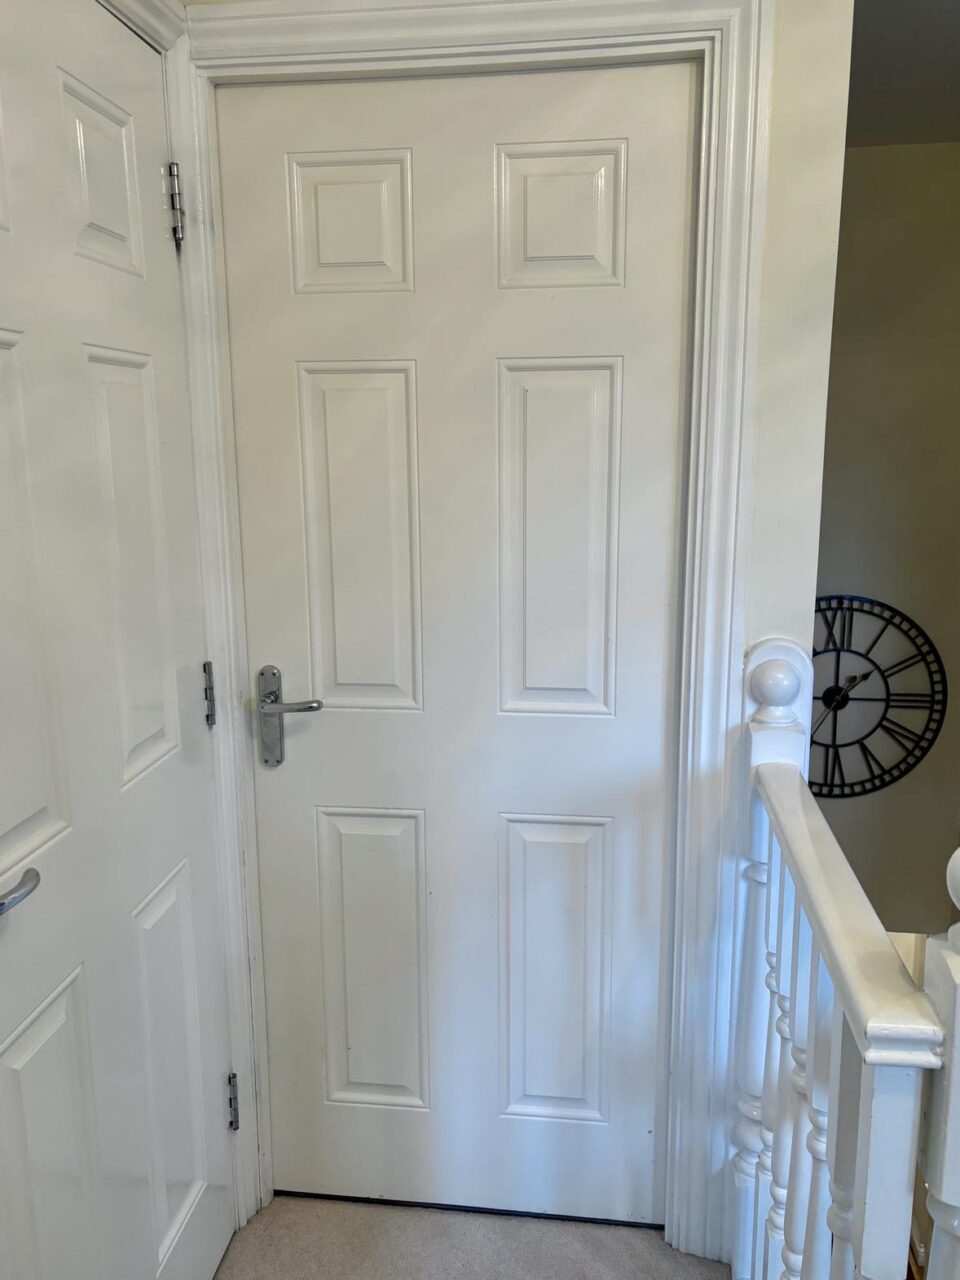
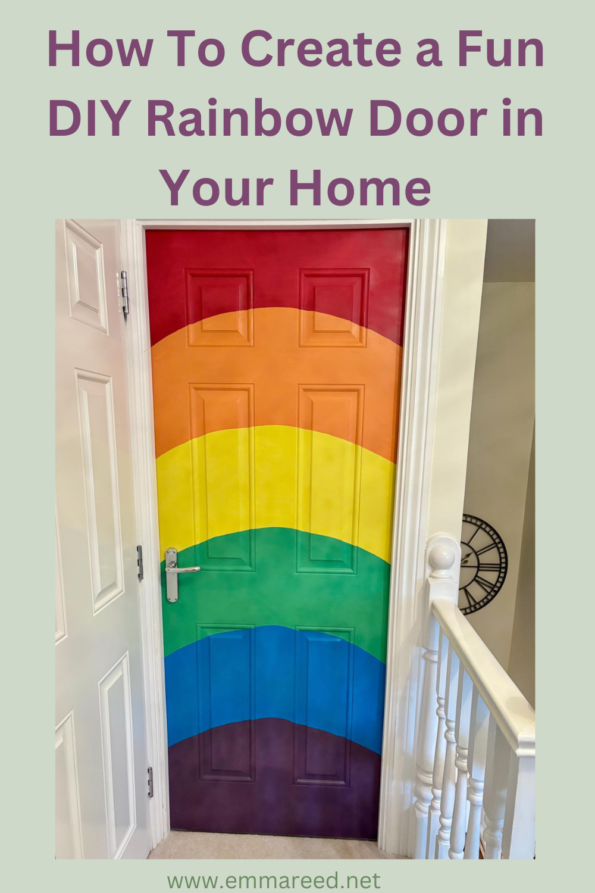
And after:
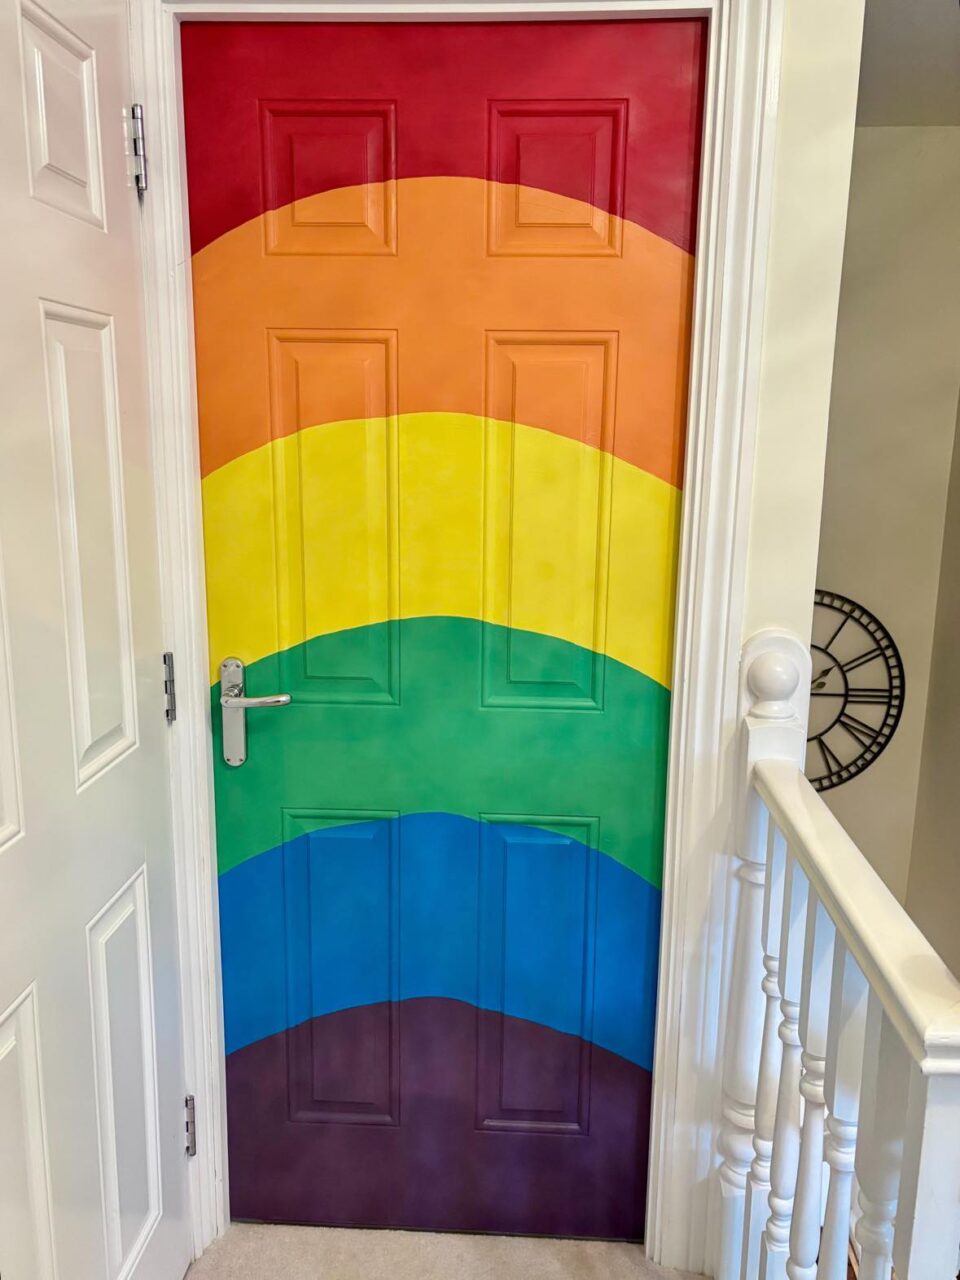
My son is absolutely over the moon with his new Rainbow Door and I am amazed at how well it all turned out given that we kinda winged this. It was a shame that we couldn’t do the frame as it was in our inspo image but as you can see, the frame on the left is smaller than the frame on the right due to the airing cupboard being next to it which would have meant we would have had an uneven rainbow. I did contemplate using a block colour around the frame but my son was happy enough with this as it was so we left it.
Overall I would say this is quite a simple DIY you just need a little bit of help, a little inspiration, a lot of patience and a fairly steady hand. What do you think? Would you give it a go?

Pin for later:
