
Upcycling Furniture With Chalk Paint
*Contains Amazon Affiliate Links
Finding new furniture can be such a long process. You have to hunt high and low for what you have in your mind, you can end up spending hours online trying to find the best price, checking sizes, delivery costs etc but what if you already have the perfect pieces in your home? With a touch of DIY and a bit of creative flair, you may be able to give your current furniture a completely new look for very little cost to your pocket and also to the environment. Instead of buying new and creating more pollution and carbon emissions, utilising what has already been produced is a far more eco-friendly option plus on top of that, it will give you a fun new project to work on. Here is how easy upcycling furniture with chalk paint can be.
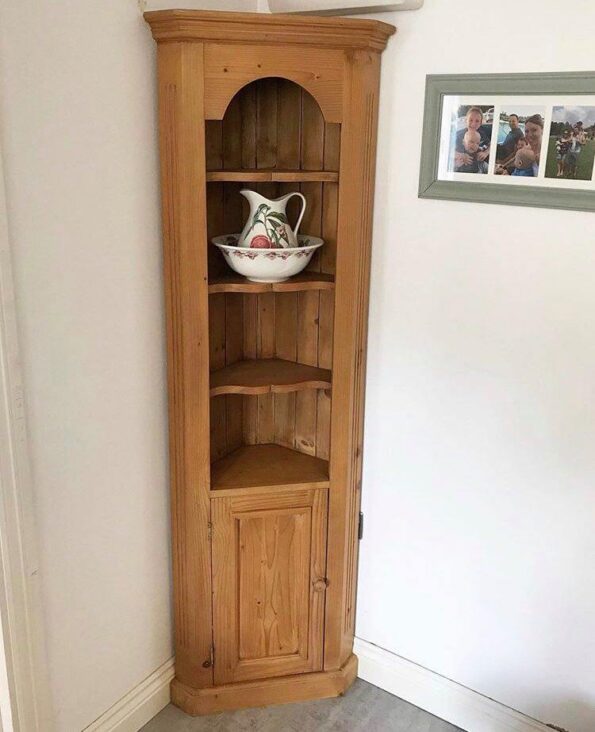
The Piece
So, my story was that I wanted a corner unit to stand in my kitchen. I’d already looked for brand new and became frustrated when I couldn’t find what I had in mind or the size I needed so I turned to Facebook Marketplace to see if anybody local had what I needed. After a very short search, I found the perfect pine corner unit and for the great price of £20! All it needed was a bit of TLC.
Planning The Look
The great thing about upcycling is that you can create exactly what idea is in your head. Want a multi-coloured table? Go for it! Want pastel shades? Easy. Want the top of a table a different colour to legs? Perfectly doable. There are so many paint options on the market, along with wood stains, varnishes, sprays and stencils that you can literally bring any idea to life. The hardest part may be choosing which idea you go with! For our piece, I knew I wanted to match our other furniture which is cream and oak so I just had to decide how to incorporate that with the shelves. I didn’t actually make my final decision until I started painting though.
Starting the Upcycling
When you upcycle with chalk paint you don’t have to do any sanding of the wood which is what I love. So, the most prep you will need to do is wipe it all down, check for any damage that may need repairing and clean any mucky areas that could leave an uneven finish. I simply used warm water and a reusable cloth to wipe this down before starting and that was all it required.
Painting
I chose a Rust-oleum chalk paint in the shade of clotted cream. I had previously used this brand on William’s nursery furniture so I knew how easy it was to apply and how gorgeous the finish is.
All you need is a good paintbrush, a bit of time and to keep an eye on your brushstroke directions (if you go in the wrong direction and don’t stay with the flow, it can be very obvious with this type of paint). If you’re unsure about the colour, you can easily test it on one area and check if you like it. If you don’t, it can be wiped away whilst still wet or just covered over with a different shade.

The colour for this item was perfect. I gave the whole unit one coat whilst I still made my mind up about which areas to keep as natural wood and then I went for a second coat to give it the full coverage. I also had a bit of help…

I did debate whether I needed to sand the parts I was choosing to keep as wood and then to use a varnish but the colour looked so good up against the cream that I chose to leave it as it was. All I had to do was give the shelves a deeper clean to bring them back up to their former glory and I simply used a bit of warm water and soap with a soft cloth. If it had been in a worst condition I would have had to have sanded before I began painting so I’m glad I didn’t have to after kinda winging my design.

Some areas needed a little more attention than others due to the age of the furniture but the finished look is just perfect:

If you want to protect your chalk paint you can also purchase a wax that can be gently rubbed onto the surface but I didn’t do that this time. The furniture can be easily wiped cleaned or touched up with paint anyway.
And that’s it. That is how simple it is to completely alter a piece of furniture with a lick of chalk paint and it is far more rewarding than buying something new.
Why not give it a go yourself?

*This post contains Amazon Affiliate links. For further information please refer to my disclosure page.
Pin for later:

If you enjoyed this post you can follow more of our life, opinions and antics over on Facebook, Twitter, YouTube and Instagram. Plus feel free to come and join in with my parenting group ‘From One Parent to Another’ on Facebook.
If you’d like to contact me you can either leave me a comment or drop me a line via my contact me page.
For other topics similar to this one check out these suggestions below…
Related Posts:
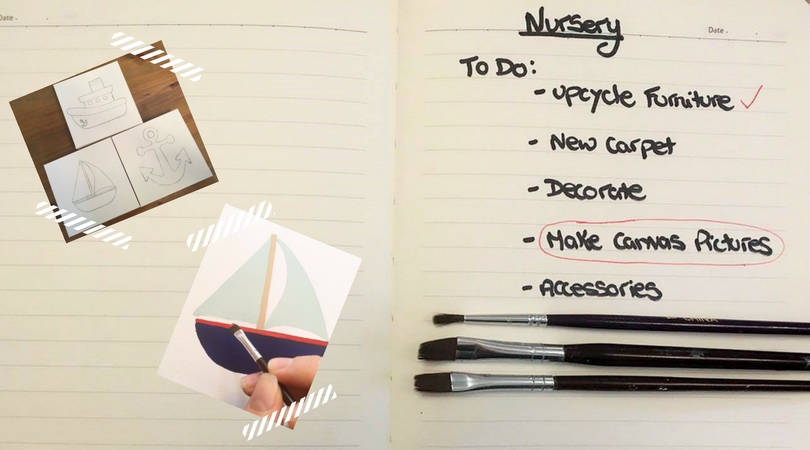
Nursery Makeover: Upcycling Pine Furniture

*Contains affiliate links So, baby number 2 will be here in January and I just know these last few months Read more
Nursery Makeover: Nautical Themed Canvas Pictures
We have decided that the theme for the nursery is going to be a nautical one which immediately set me Read more
How To Build A Pallet Planter
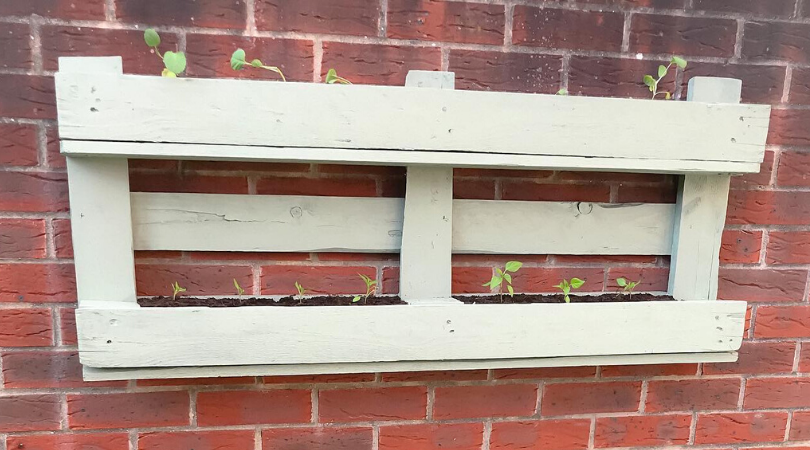
*Affiliate Links Pallets are just so versatile and can be turned into almost anything but they can also be often Read more
Renovating Our Kitchen On A Budget
*Collaborative Post When we made the decision to renovate our kitchen we always knew we wanted to do it on Read more