

Nursery Makeover: Upcycling Pine Furniture
*Contains affiliate links
So, baby number 2 will be here in January and I just know these last few months will fly by what with lots of birthdays, Christmas, Jake turning 4 all to come in between and as I am usually a super organised person (Jake’s room was completed as soon as we found out we were having a boy) so I am slacking a little here with the new nursery but I have plenty of ideas. Trying to find the time being a Mum of one, working from home and having the usual housework to do has been a tough task but I can very happily report that I have now made a start on project nursery!
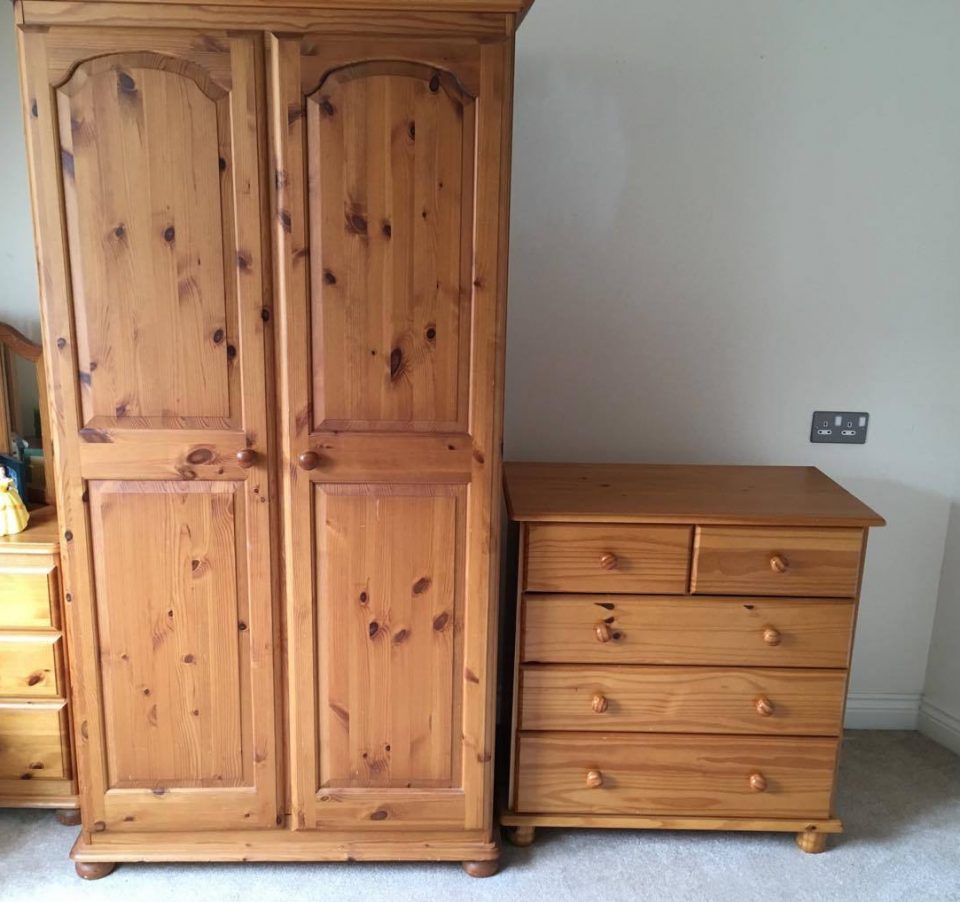
The first item on my list was to upcycle my pine furniture. We all have it in our home, don’t we? What we thought would never go out of fashion during the 90’s has definitely now had its day but it is such great quality I cannot believe how many people just take it to the tip instead of thinking about how it could be adapted to fit in with their tastes nowadays.
I’m a sentimental soul and my Mum bought all my pine furniture for me when I was a teenager. It became a collection I was proud of as I gained a new item each birthday and Christmas so there was no way I could throw it out. Instead, it has sat in our spare room gathering dust whilst I wondered how it could fit in with our home. Turns out I just needed to get pregnant to discover the best use for the wardrobe and chest of drawers… upcycling it with chalk paint.
Before:
How To Upcycle Pine Furniture
Now, this is all new to me so I am not sitting here telling you this is how you expertly transform your pine furniture but what I can say is that it is very simple and with a good hand and time you can achieve a great look.
I chose the colour winter grey by chalk paint brand Rust-Oleum . I knew I wanted a light grey due to the room being quite small and dark. There were other shades of grey but I went for what seemed to be the lightest. And the best part? You don’t even need to sand or prepare the pine beforehand! This paint can be applied straight to the wood with a brush or roller, and if there’s any damage, simply fix it with fillers for wood.

I chose a small roller set and brushes because I had it in mind I would need both and to be honest, this is definitely needed. Choose the smooth roller from the set, not the furry one (technical talk there!) as this will leave a speckled effect and you want an even coverage. I found the roller worked wonders but the brush was a bit of a pain for leaving stroke marks and it took some concentration to get it looking consistent. I can live with a few brush marks as it adds to the shabby chic effect but I think if I had taken more time I probably could have got it a little neater.
I was really surprised at how far one tin went, I almost completed both items with it… it would have gone further if I hadn’t had a mishap! Oops… next item on the list is a new carpet then!
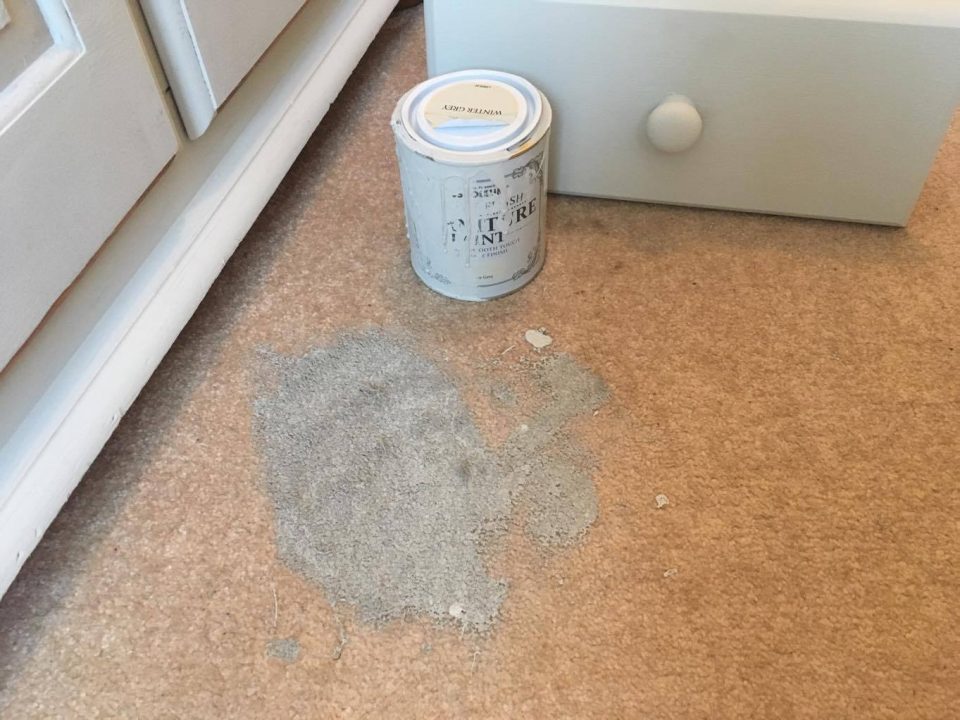
Do be careful with these pots as the paint just flows out if you tip it over! Even though this happened I only needed to purchase one more tin to complete the 2 items and in some areas I needed to apply 2 or 3 coats so it does go very far.

You May Also Like:
The Finishing Touch
Once the paint has dried and you have your coverage completed, it is advised that you apply the wax to protect the finish of your upcycled pine furniture from future sticky hands, oil marks etc. You apply this sparingly with a soft cloth.


And the finished result…
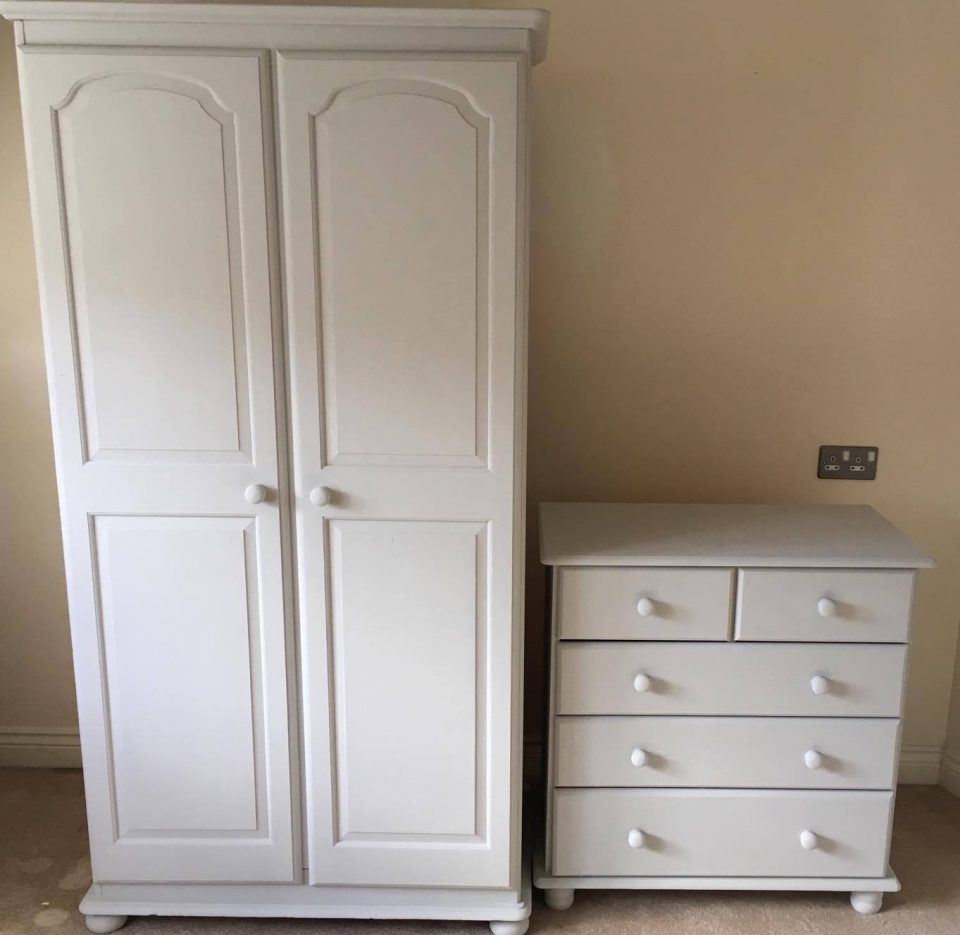
Just perfect for our new arrival and it only took a few days and was really enjoyable to do.
Now, what is next on that list?…

This post contains affiliate links. This will not affect your shopping experience. For further information please refer to my disclosure page.
Pin for later:
Related Posts:
Nursery Makeover: Nautical Themed Canvas Pictures
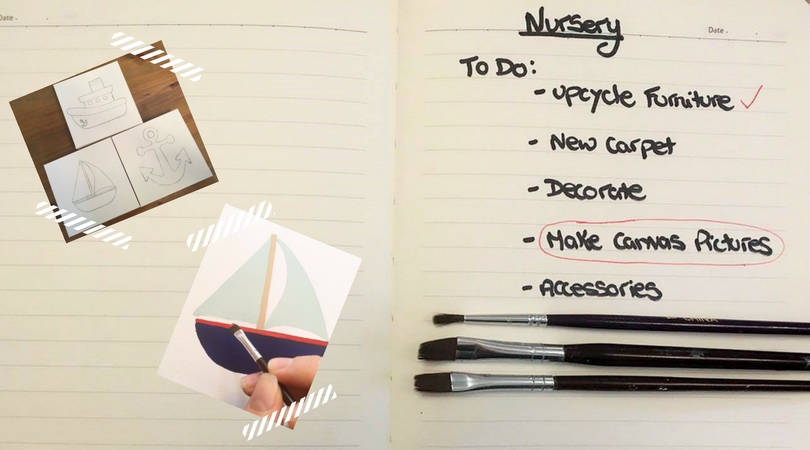
We have decided that the theme for the nursery is going to be a nautical one which immediately set me Read more
How To Build A Pallet Planter
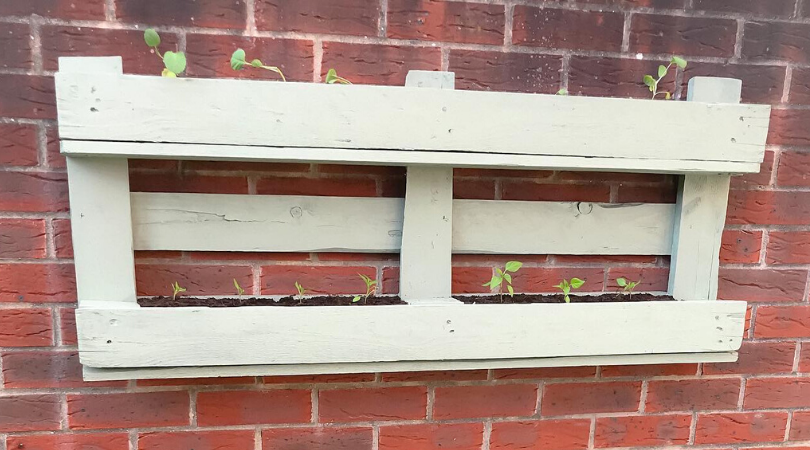
*Affiliate Links Pallets are just so versatile and can be turned into almost anything but they can also be often Read more
Upcycling Furniture With Chalk Paint
*Contains Amazon Affiliate Links Finding new furniture can be such a long process. You have to hunt high and low Read more
How To Create a Fun DIY Rainbow Door in Your Home
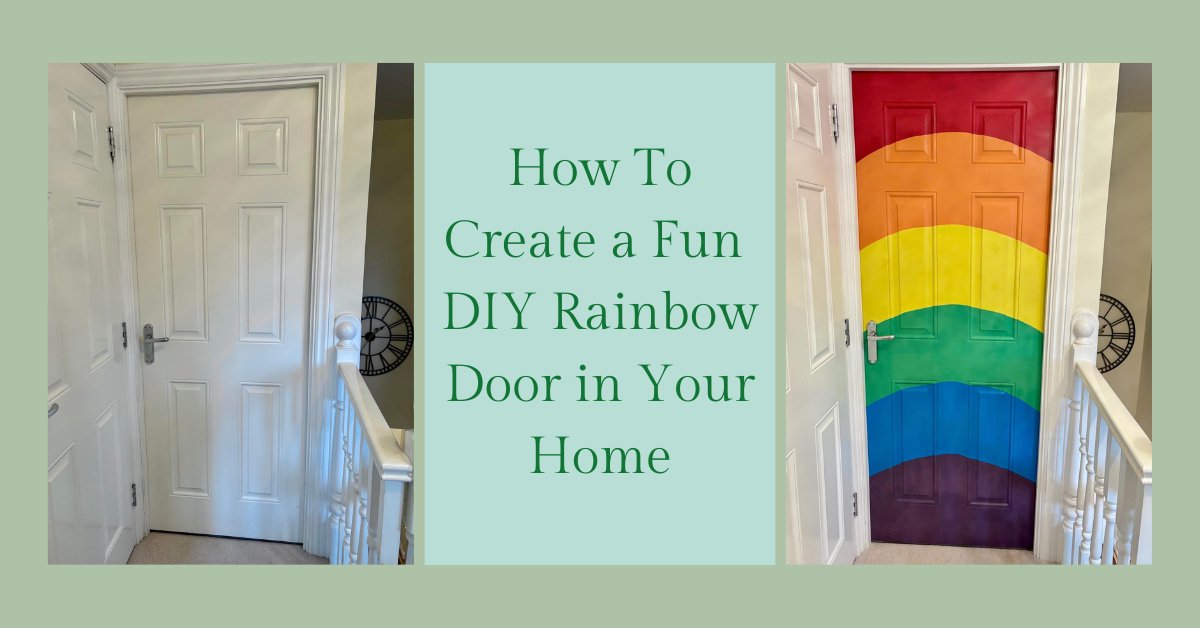
One evening as I was putting my son to bed, he said "When I'm older I'm going to have a Read more