
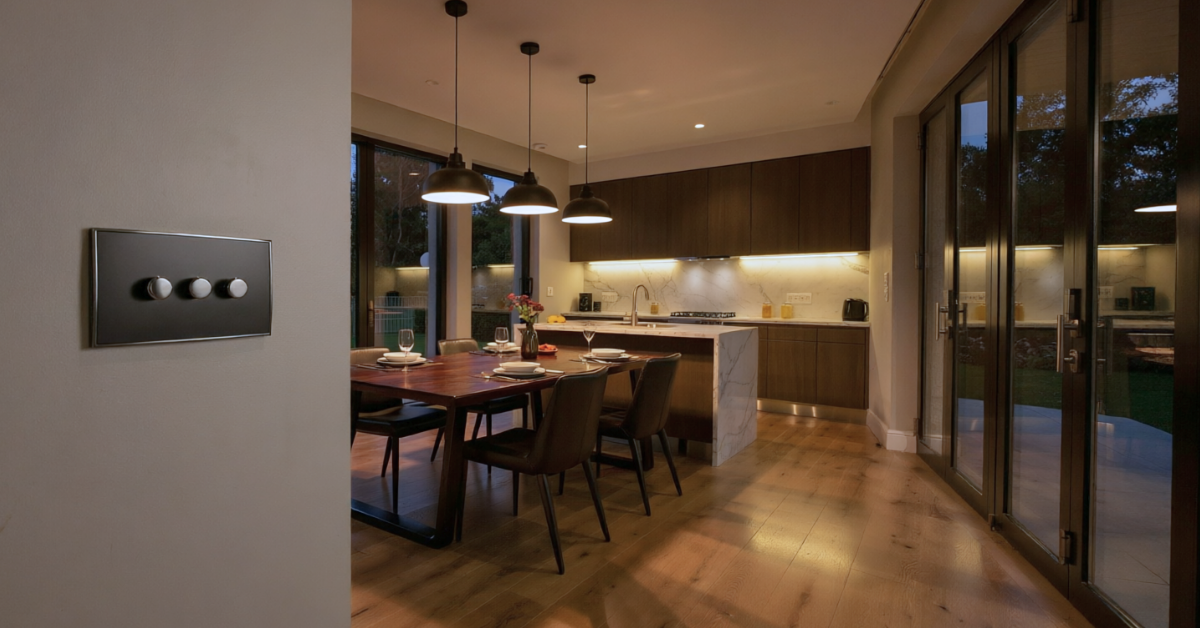
How to Choose an LED Dimmer Switch: Loads, Compatibility and Flicker
*Collaborative Post
An LED dimmer switch should make a room more comfortable and flexible. It can soften living-room lighting in the evening, reduce glare from kitchen downlights or let one lighting scheme support several different uses.
The difficulty is that “LED compatible” does not mean every dimmer will work with every LED lamp, fitting or driver. A successful dimming circuit depends on several components working together, and a mismatch can lead to flicker, buzzing, a restricted dimming range or lights that do not switch on and off cleanly.
At Arrow Electricals, we recommend treating the dimmer, lamps and any drivers as one system rather than choosing the wall plate in isolation. This guide explains the checks to make before ordering and our LED dimmer switches are listed alongside the specifications you will need to compare.
Key takeaways
LED dimming becomes much easier when the checks are made in the right order. These are the points most likely to prevent an incorrect product choice.
- Confirm that the lamps, fittings or LED strip are dimmable before choosing the control.
- Check the dimmer manufacturer’s stated LED load range, including whether a minimum load applies.
- Look for a maximum lamp-number limit as well as a wattage rating.
- Match the dimming method required by the lamp or driver, such as leading edge, trailing edge or 1–10V.
- For LED strip lighting, check the strip, driver and dimmer as a complete compatible system.
- Choose the control format and finish only after confirming compatibility.
- Use a qualified electrician for installation, circuit assessment and any required control wiring.
Quick answer: what needs to match in an LED dimming circuit?
Before choosing a dimmer, identify every component in the lighting circuit and confirm the requirements shown in the table below.
| Component | What to confirm | Why it matters |
| LED lamp or fitting | It is specifically described as dimmable | A non-dimmable LED should not be connected to a dimmer |
| Dimmer switch or module | LED load range, lamp-number limit and dimming method | An incompatible driver can cause poor or unreliable dimming |
| LED driver | Dimmable status, output type and accepted control method | The driver affects whether and how the LEDs respond |
| Number of lamps | The total remains within the manufacturer’s stated limit | Lamp count may be restricted separately from wattage |
| Circuit arrangement | One-way, two-way, multi-way or multiple circuits | The selected control must support the intended switching |
| Wall plate and module | The plate accepts the required dimmer mechanism | A matching finish does not guarantee the correct function |
If you are comparing controls, Arrow’s dimmer range includes standard and LED-compatible options in different gang configurations and finishes.
First confirm that every part of the lighting setup is dimmable
Every relevant component, not just the wall control, must be designed for dimming. Start with the light source and work backwards through any driver or transformer to the dimmer.
For a replaceable LED lamp, such as a GU10 or E14 candle bulb, check the lamp packaging or manufacturer’s specification. A fitting may accept an LED lamp, but that does not automatically make the lamp itself dimmable.
With an integrated LED fitting, the LEDs and driver are normally part of the product. The fitting’s specification should therefore confirm whether it is dimmable and, where stated, which dimming method or control type it supports.
LED strip lighting normally introduces another component: the driver. The strip may be capable of dimming, but where a driver is present, its specification must confirm that it supports the proposed dimming method.
A common ordering mistake we see
The Arrow team occasionally sees online customers order a switch plate configured with a standard on/off mechanism when they intend to choose a dimmer. The team contacts them before processing the order to confirm what is required.
This is a useful reminder that the decorative plate is only the visible part of the decision. Before choosing its finish, establish whether the circuit requires an ordinary switch, an LED dimmer or another type of lighting control.
Check the minimum load, maximum load and lamp-number limit
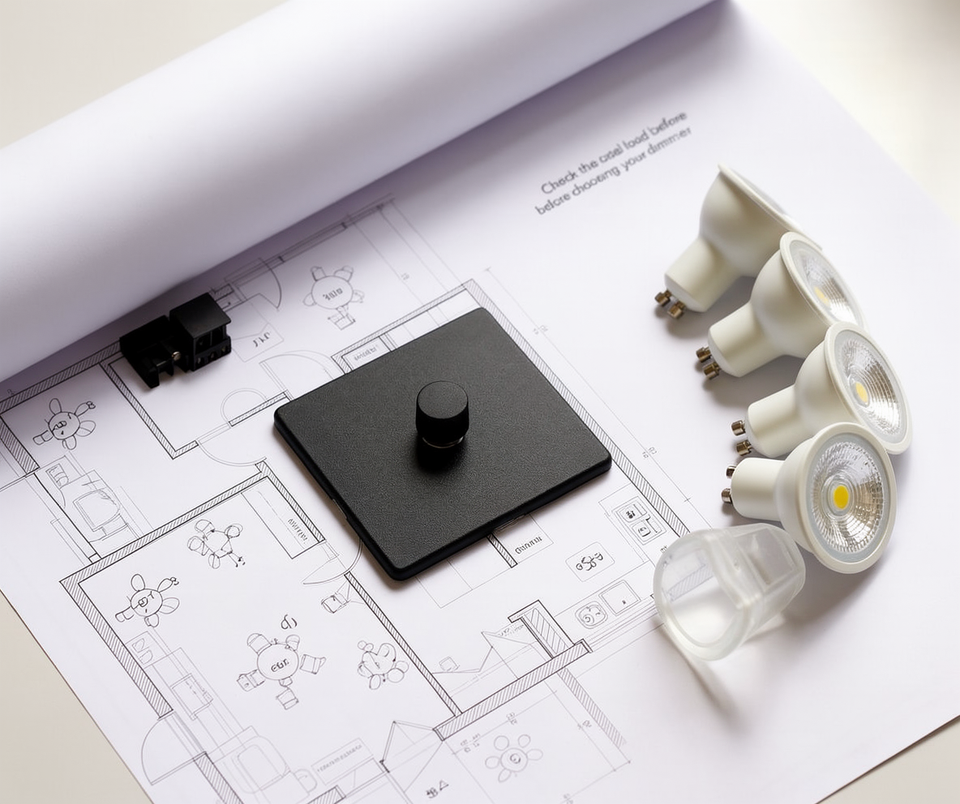
An LED dimmer is designed to operate within a stated load range. Some LED dimmers have no stated minimum load, while others require a minimum connected load. Always use the specification for the exact model.
To find the connected load, add together the rated wattage of every lamp or fitting controlled by that dimmer. Six 5W lamps, for example, create an LED load of 30W.
That calculation is essential, but it may not be the only limit. Some manufacturers also state a maximum number of LED lamps. A circuit can therefore sit below the dimmer’s wattage ceiling and still exceed its permitted lamp count.
| Check | Example question | Where to find the answer |
| Minimum LED load | Does the model have a minimum connected load? | Dimmer data sheet or instructions |
| Maximum LED load | Is the combined wattage below the LED rating? | Dimmer data sheet or product specification |
| Maximum number of lamps | Does the circuit contain more lamps than permitted? | Dimmer or compatibility guidance |
| Load type | Does the rating apply to LED rather than only incandescent or halogen loads? | Product label and manufacturer data |
| Derating | Does a multi-gang plate or installation condition reduce capacity? | Manufacturer’s installation instructions |
Do not assume that the largest wattage number printed on a product applies to LEDs. A dimmer can have different ratings for LED, incandescent, halogen or transformer-controlled loads. Even a single-circuit plate such as a 1-gang LED dimmer will show separate ratings for each load type.
The Intelligent Programmable LED Dimmer Module 0–300W MJP300, for example, is listed as a 0–300W Varilight V-Pro LED replacement module. Varilight’s current guidance states that its 300W V-Pro rotary models can control up to 30 suitable LED lamps, while its 120W versions are limited to 10.
Match the dimmer to the required dimming method
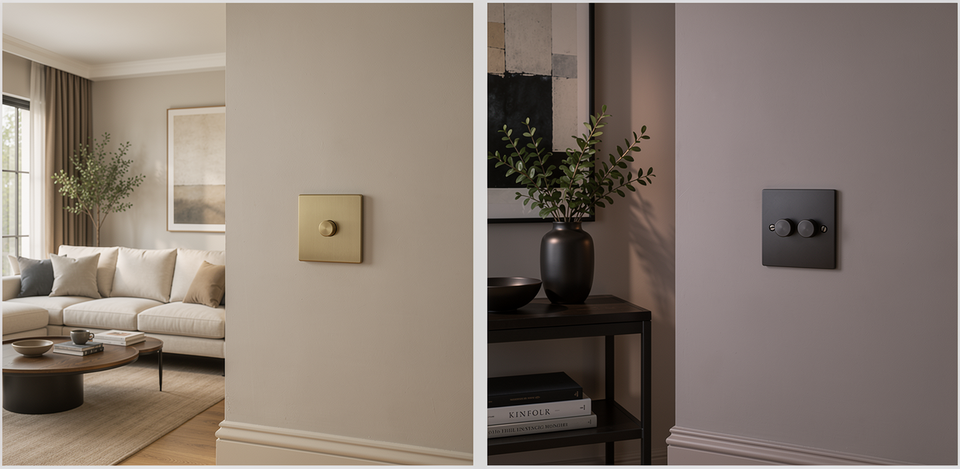
The terminology can look technical, but the practical rule is simple: the dimmer and the lamp or driver must support the same control method.
Do not choose between leading and trailing edge based only on a general rule. Use the lighting manufacturer’s specification and the dimmer manufacturer’s compatibility information.
Leading-edge and trailing-edge phase dimming
In simple terms, phase dimming controls brightness by electronically reducing part of each cycle of the mains electricity supplied to the lamp or driver. Leading-edge and trailing-edge dimmers differ in which part of that electrical cycle they control, which is why compatibility with the particular LED lamp or driver matters.
| Dimming method | Common application | What to check |
| Trailing-edge phase dimming | Many dimmable LED lamps and compatible electronic drivers | Confirm that the lamp or driver supports trailing-edge control |
| Leading-edge phase dimming | Compatible lamps or drivers that explicitly specify leading-edge or TRIAC control | Check the stated LED load range and compatibility |
Terms such as “TRIAC dimmable” should not be treated as a universal compatibility guarantee. Check the instructions for both the driver or lamp and the exact dimmer model.
Some programmable LED dimmers allow the driving mode or minimum brightness level to be adjusted. This can improve performance with a compatible load, but programming cannot make a non-dimmable lamp or incompatible driver suitable.
Arrow carries Varilight dimmer modules and finished controls, including programmable V-Pro options intended for many dimmable LED applications. Always use the data for the exact model rather than assuming every product in a range has the same load limits or features.
Most domestic LED lamps and downlights use a compatible mains phase dimmer. Some integrated fittings and more specialised installations instead rely on a compatible driver and a separate control method, such as 1–10V.
When a 1–10V system may be considered
A 1–10V system uses a separate low-voltage control signal to tell a compatible driver what light level to produce. It is different from a conventional mains phase dimmer and usually requires additional control wiring.
This can suit certain integrated, commercial or specialist lighting installations where the fitting and driver are designed for 1–10V control. The driver, controller and wiring should therefore be planned together before the electrical installation is completed.
A 1–10V control is not a direct like-for-like replacement for an ordinary mains phase dimmer. The compatible driver, control and additional wiring must be considered as part of the installation.
Arrow’s LED Dimmable Driver Multi-Current 350mA, 500mA, 700mA 1–10V is an example of a constant-current 1–10V driver. Its selectable output currents and requirement for LEDs to be wired in series show why a driver must be matched to the specific LED fitting or module rather than selected by wattage alone.
It should not be assumed to suit a conventional constant-voltage LED-strip installation.
How to choose a dimmer for LED strip lighting
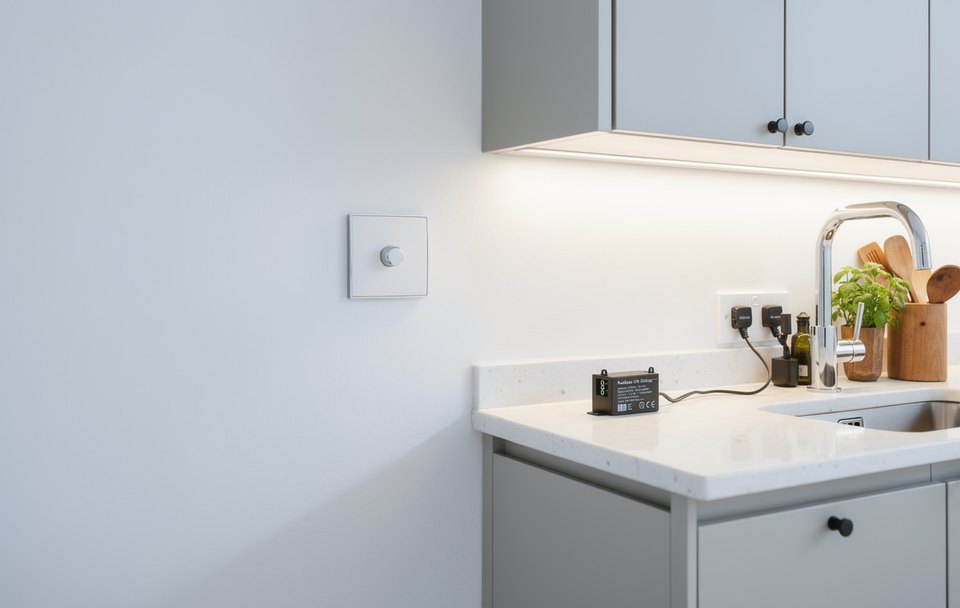
LED strip systems need particular care because the strip, driver and dimmer must be selected together. Start by confirming the strip voltage, output type, watts per metre and installed length. These details determine the nominal load and the type of driver the system requires.
For example, five metres of strip rated at 9.6W per metre creates a nominal load of 48W. That figure helps identify the required driver capacity, but the final driver choice should also follow the manufacturer’s loading, voltage, current, environment and installation guidance.
Why we recommend checking the complete LED-strip load
The Arrow team regularly advises customers to check the wattage of the entire LED strip run before choosing the dimmer plate or module.
This matters because some dimmer modules may not have enough capacity for the proposed installation. Wattage is not the only consideration either: the LED strip, driver and dimmer must also be compatible with one another, and the driver must provide the correct output for the strip being used.
The practical starting point is therefore to calculate the complete strip load first, then check the driver and dimmer specifications rather than choosing the wall control in isolation.
Use this sequence:
- Identify the strip voltage and watts per metre.
- Confirm the total installed length.
- Calculate the nominal total wattage.
- Select a compatible dimmable driver with the correct output type and suitable capacity.
- Confirm that the driver supports the selected dimming method.
- Choose a dimmer that is compatible with the driver and remains within its stated limits.
- Ask the electrician to confirm wiring, location, ventilation and installation requirements.
What causes LED lights to flicker, buzz or drop out?
Flickering is one of the better-known problems associated with LED dimming, but it can have several possible causes. Check the complete lighting setup rather than assuming that the wall control itself is faulty.
How often do customers ask about LED flickering?
The Arrow team reports that customers do occasionally ask about flickering, although it is not one of the most frequent questions they receive about dimmer switches.
That first-hand experience is useful because it suggests that compatibility problems do occur, but they should not be presented as inevitable when LEDs are dimmed. A correctly matched lamp, driver and dimmer should provide reliable operation within the limits set by their manufacturers.
When flickering does occur, the starting point is to identify whether the problem appears only at low brightness or throughout the dimming range.
| Symptom | Possible starting point to check |
| Flicker at low brightness | Minimum load, minimum brightness setting or lamp-and-dimmer compatibility |
| Flicker across the whole range | Incorrect dimming method, incompatible driver or mixed lamp types |
| Lights switch off before reaching minimum | Low-end setting or compatibility limitation |
| Lamps do not start at a low setting | Start-up requirements, driver behaviour or dimmer programming |
| Buzzing from lamps or dimmer | Load compatibility, dimming method or product-specific behaviour |
| Reduced output or protective shutdown | Possible overload or thermal protection response |
| Lights glow when switched off | Electronic control behaviour or a particularly sensitive LED load |
A programmable dimmer may offer an adjustable minimum brightness level or alternative driving modes. Varilight’s V-Pro guidance, for example, directs users to adjust the minimum level or driving mode where compatible LED lamps flicker at the lower end of the dimming cycle.
Follow the instructions for the exact product. If the system is new, repeatedly unstable or difficult to diagnose, ask a qualified electrician to assess the lamps, driver, wiring and dimmer together.
Choose the control format after compatibility is clear
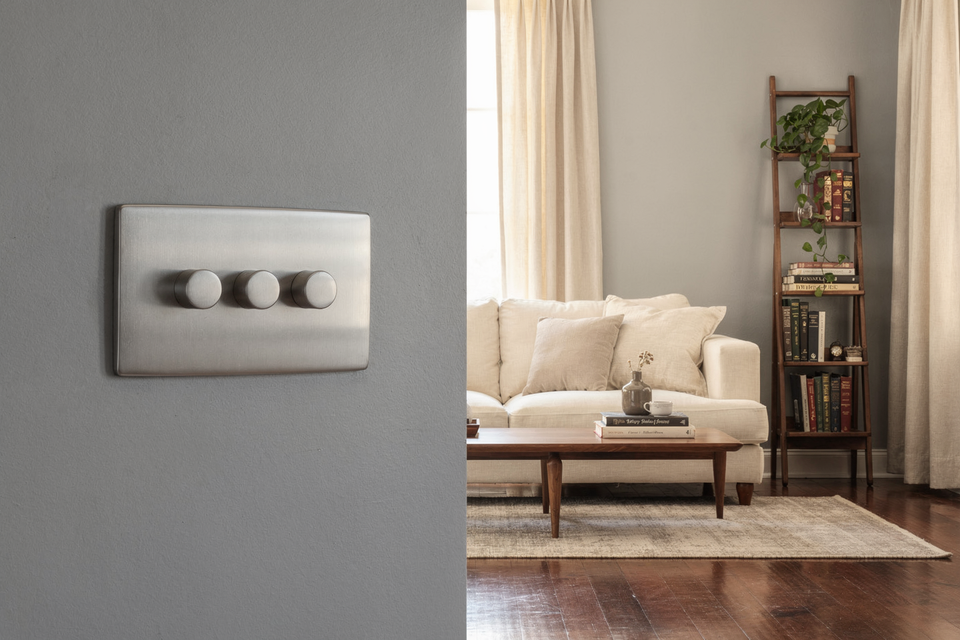
Once compatibility and load requirements are clear, you can choose how the dimmer should operate and how it should look on the wall.
A one-gang dimmer controls one lighting circuit from the plate. A two-gang dimmer provides two separate controls, while larger plates can control additional circuits. Each gang has its own load, so the connected lighting should be assessed per dimmer module rather than only as a total for the plate.
If the light needs to be controlled from two locations, confirm that the chosen dimmer supports the required arrangement. Some products work as a two-way dimmer with a compatible conventional switch at the second position, while multi-point systems may use a master dimmer and dedicated companion controls.
Arrow’s 1-gang LED dimmers provide a useful starting point for a single circuit. Where an existing decorative plate can accept a replacement mechanism, the dimmer modules category may offer another route.
The finish should come last. Brass, bronze, nickel, chrome, black and white options can all work well, but the correct module, load rating and circuit arrangement matter more than matching the surrounding hardware.
LED dimmer selection is only one part of planning the electrical layout. Our guide to switches and sockets for renovations explains how positioning, function and finish can be considered together before electrical work begins.
Common LED dimmer mistakes to avoid
Most incorrect selections come from treating one part of the system as if it determines the whole result. The following mistakes are worth checking before an order is placed.
- Choosing a standard on/off switch when dimming control is required.
- Fitting a dimmer to a lamp, integrated fitting or driver that is not described as dimmable.
- Checking only the maximum wattage and overlooking whether a minimum load applies.
- Adding the lamp wattages but ignoring the manufacturer’s maximum lamp-number limit.
- Assuming every LED dimmer uses the same leading-edge or trailing-edge method.
- Using a standard driver in an LED strip system that needs a dimmable driver.
- Selecting a driver by headline wattage without checking voltage, current, control method and loading guidance.
- Planning a 1–10V control after the wiring has already been completed.
- Mixing lamps or fittings with different dimming behaviour on one circuit.
- Choosing the decorative plate before confirming the required module and switching arrangement.
If any product information is unclear, check the proposed combination with the relevant manufacturer and the electrician responsible for the installation.
LED dimmer switch FAQs
LED dimmer specifications can introduce several smaller questions once the basic compatibility checks begin. These answers cover the points most likely to affect product selection.
Can every LED light be dimmed?
No. The LED lamp, integrated fitting, or driver must be specifically designed for dimming. A wall dimmer cannot make a non-dimmable light source dimmable.
How do I calculate the load on an LED dimmer?
Add the rated wattage of every lamp or fitting controlled by that dimmer. Then compare the total with the manufacturer’s stated LED load range and check whether a separate maximum lamp count applies.
Is the trailing edge always best for LED lighting?
No single method suits every LED product. Trailing-edge dimmers are widely used with many dimmable LEDs, but some lamps and drivers require leading-edge control. Follow the specification for the exact lamp or driver.
Why do LED lights flicker when dimmed?
Flicker can result from incompatible components, an unsuitable load or dimming method, or a minimum-brightness setting that needs adjustment. The lamps, driver and dimmer should be assessed together.
Can an LED strip be controlled by a wall dimmer?
Yes, when the strip, driver and wall dimmer are designed to work together. The driver is a critical part of the system, so check its output type, capacity and accepted dimming method.
Can one LED dimmer control several lamps?
Often, yes, but the combined load and number of lamps must stay within the exact dimmer’s limits. Do not rely on total wattage alone where the manufacturer also states a lamp-number limit.
Can an LED dimmer be used in a two-way circuit?
Some can. The permitted arrangement varies by product and may require a conventional switch, a companion controller or a specific multi-point system at the other location. Check the product instructions before ordering.
Will changing the dimmer always stop flickering?
Not necessarily. Flicker may be caused by the lamp, driver, load, wiring or compatibility between components. Replacing the dimmer can help when it is the mismatched component, but the complete setup should be checked first.
Choose the lighting system before choosing the finish
A reliable LED dimming setup begins with compatibility. Confirm that the lamps, fittings and drivers are dimmable, then check the exact dimmer’s load range, lamp limit and supported control method.
More complex systems, including LED strips and 1–10V installations, should be planned around the appropriate driver and wiring requirements.
Once those practical decisions are settled, you can choose the number of gangs, switching arrangement and decorative finish with greater confidence.
*This is a collaborative post. For further information please refer to my disclosure page.
Related Posts:
How Families Can Find Peace After Loss Using Open Communication

Losing a loved one is one of life’s most difficult experiences, leaving families in emotional turmoil. In the aftermath, open Read more
How You Can Look After Your Baby By Looking After Yourself

*Collaborative Post When you have a baby your world changes forever, no longer is your life all about you but Read more
Top Energy Billing Errors You Should Know

Utility billing errors can cripple your business. At worst, your utilities can be turned off. It's advisable to be careful Read more
Tips for organizing your vacation snaps and videos

When going on vacation, everyone intends to make every moment memorable. However, memories fade, so you need to capture every Read more