

How To Make A Boot Brush
*Contains Affiliate Links
With the many muddy walks we’ve been on recently, my hallway was starting to look worse for wear and I was getting frustrated with the amount of vacuuming I was doing. As we had recently put down a new front door mat (thanks to the puppy!) I had some offcuts left over which I was keeping hold of because I just knew I could make them come in handy in some way… And that’s exactly how this idea came to mind. Here is how to make a boot brush:
Materials
For a homemade item, I always like to look at what we have around the home rather than buying new and along with the doormat offcuts, we thankfully also had some wood in our garage. So all I needed were tacks or staples plus screws to hold it together. So, so simple. Coir or coconut matting is great for making a boot brush with thanks to its durable bristles; it’s the same material used for sweeping brushes, after all! But you could also use some old scrubbing brushes, an old doormat if you’re replacing it or old soft hairbrushes perhaps? Just take a look around at what you have in your home, shed or garage that could be repurposed.
Tools
Saw
Tacks or staples
Screws
Electric drill
Glue
Varnish or wood paint
Method
I mean when I say method I am using it very loosely here. I did just make this up as I went along.
Step 1
Take the largest shoe in your household to get a good idea of how long and how wide you will need your boot brush to be as this will need to work for the whole family. Draw a line to mark where you need to cut the length taking into account that the foot will need a bit more space at each end for it to be brushed back and forth.
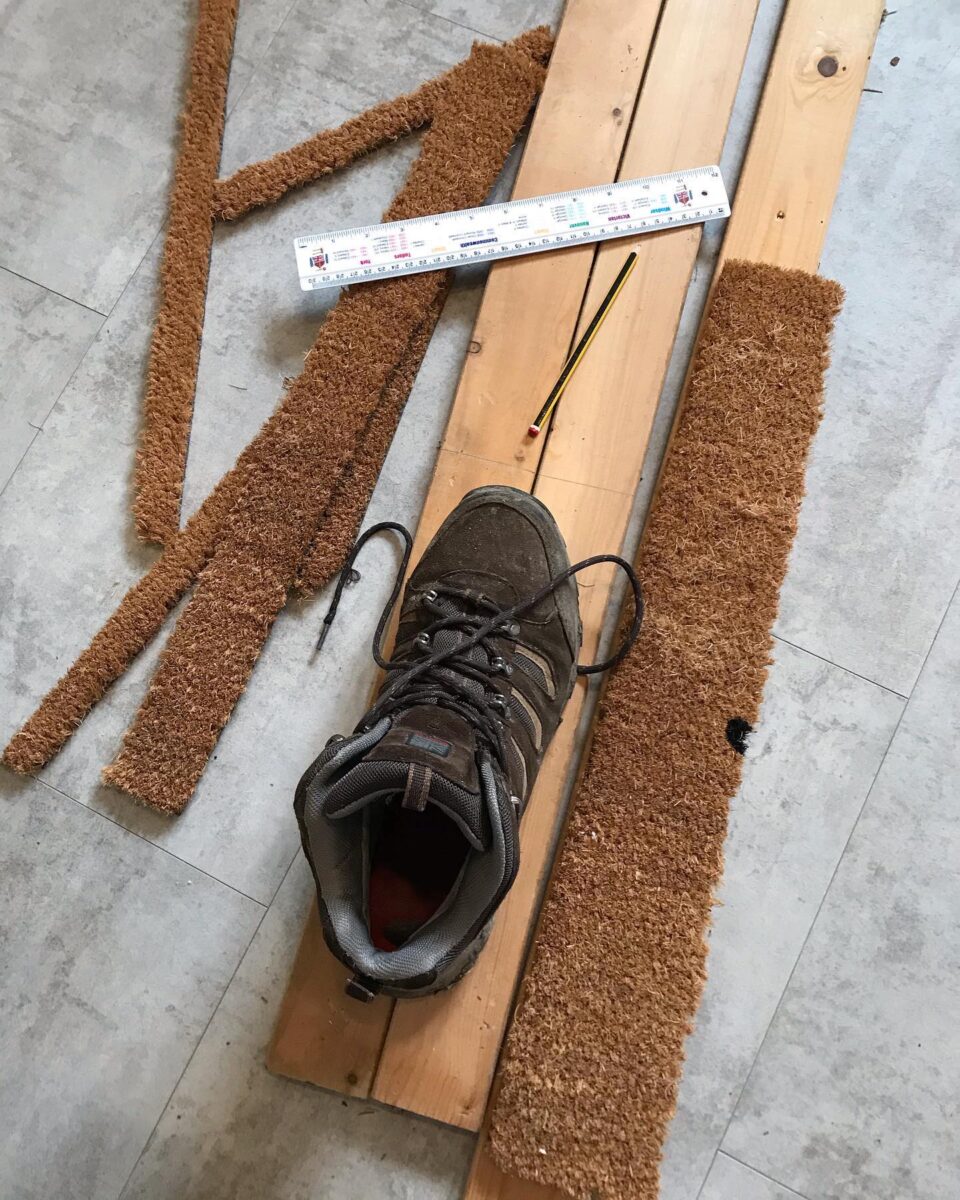
As you can see, I had wood in narrow planks like this. Luckily 2 planks were the right size for the bottom of the boot brush and then another two were the right size for the sides.
Step 2
Use a saw to cut all of your pieces of wood to size.
Step 3
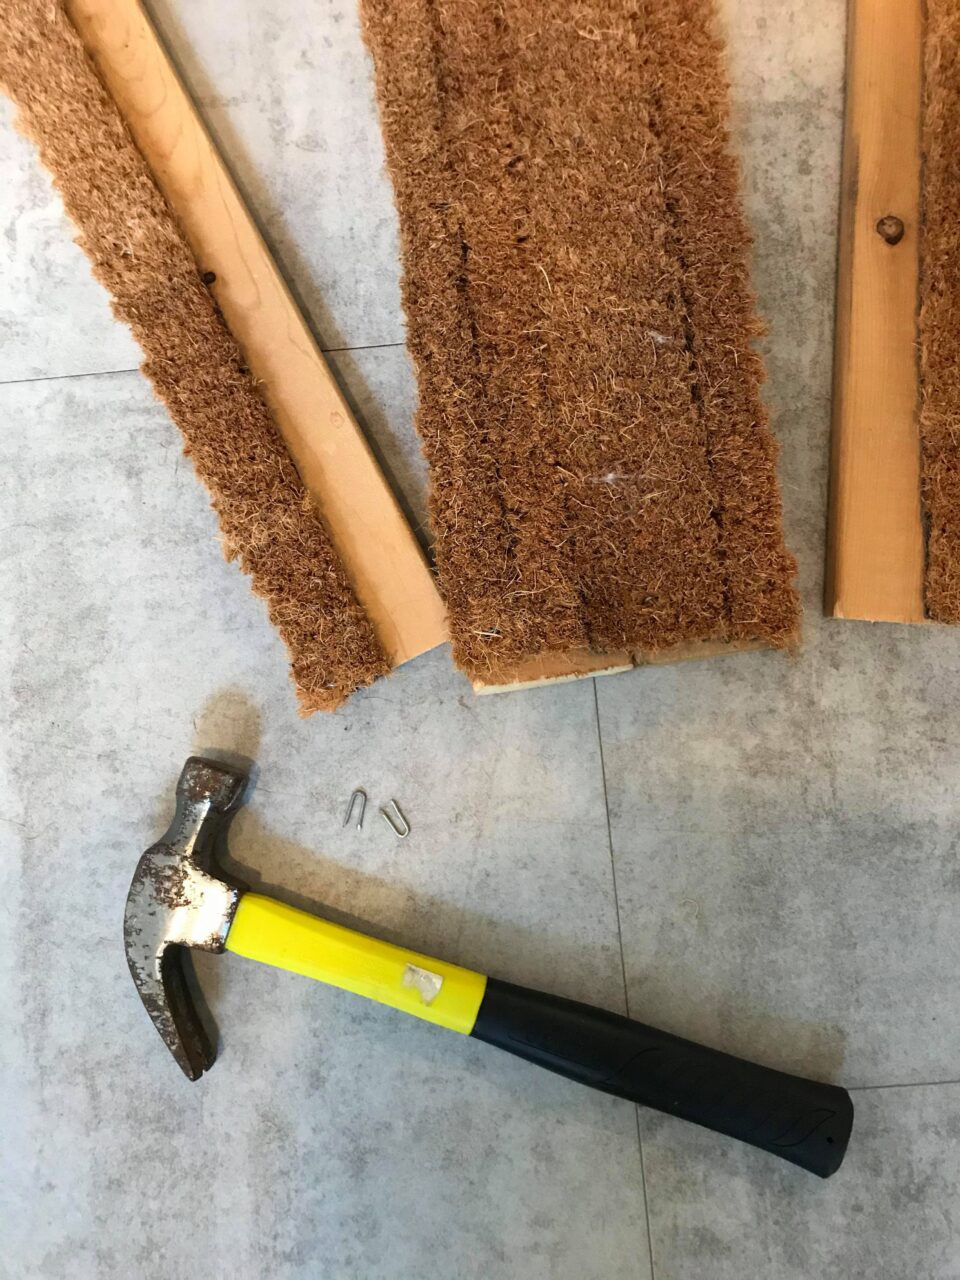
Glue or tack the pieces of wood together at the bottom. I used superglue as that was all I had and then I tacked them to hold in place.
Step 4
Cut your door mat pieces to size and tack onto the wood.
Step 5
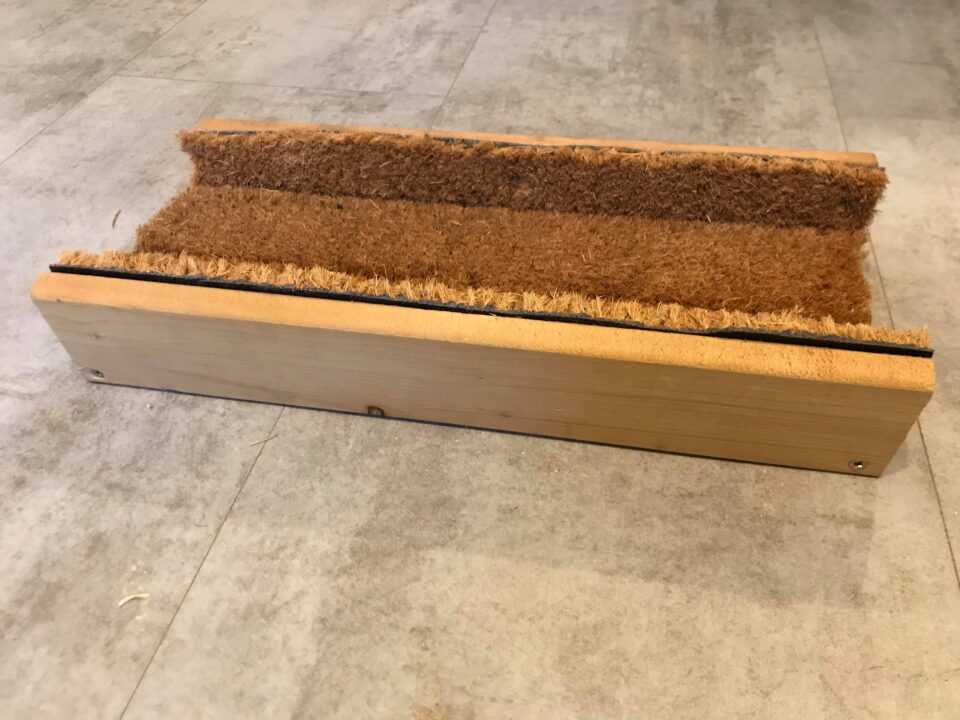
Take an electric drill and make your holes through the side into the base and then screw them all together and secure into place.
Step 6
As the boot brush will live outside you will now need to varnish or paint the wood in order to protect it.
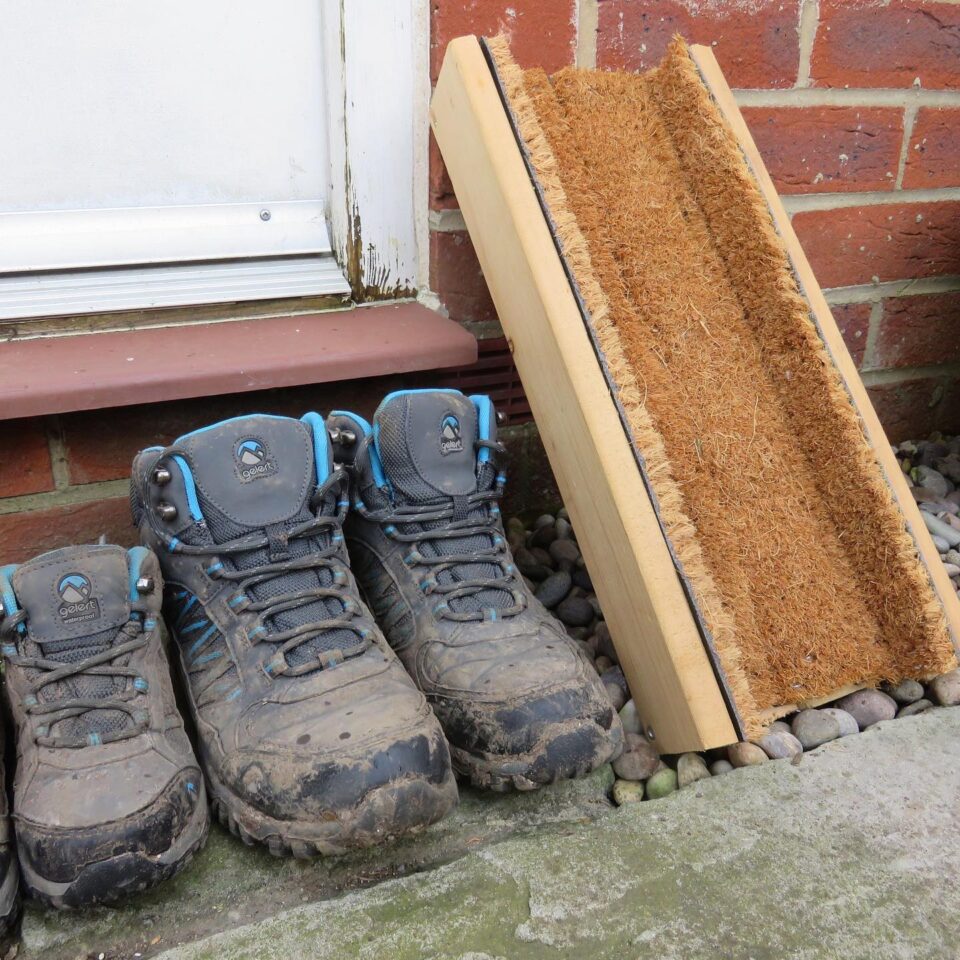
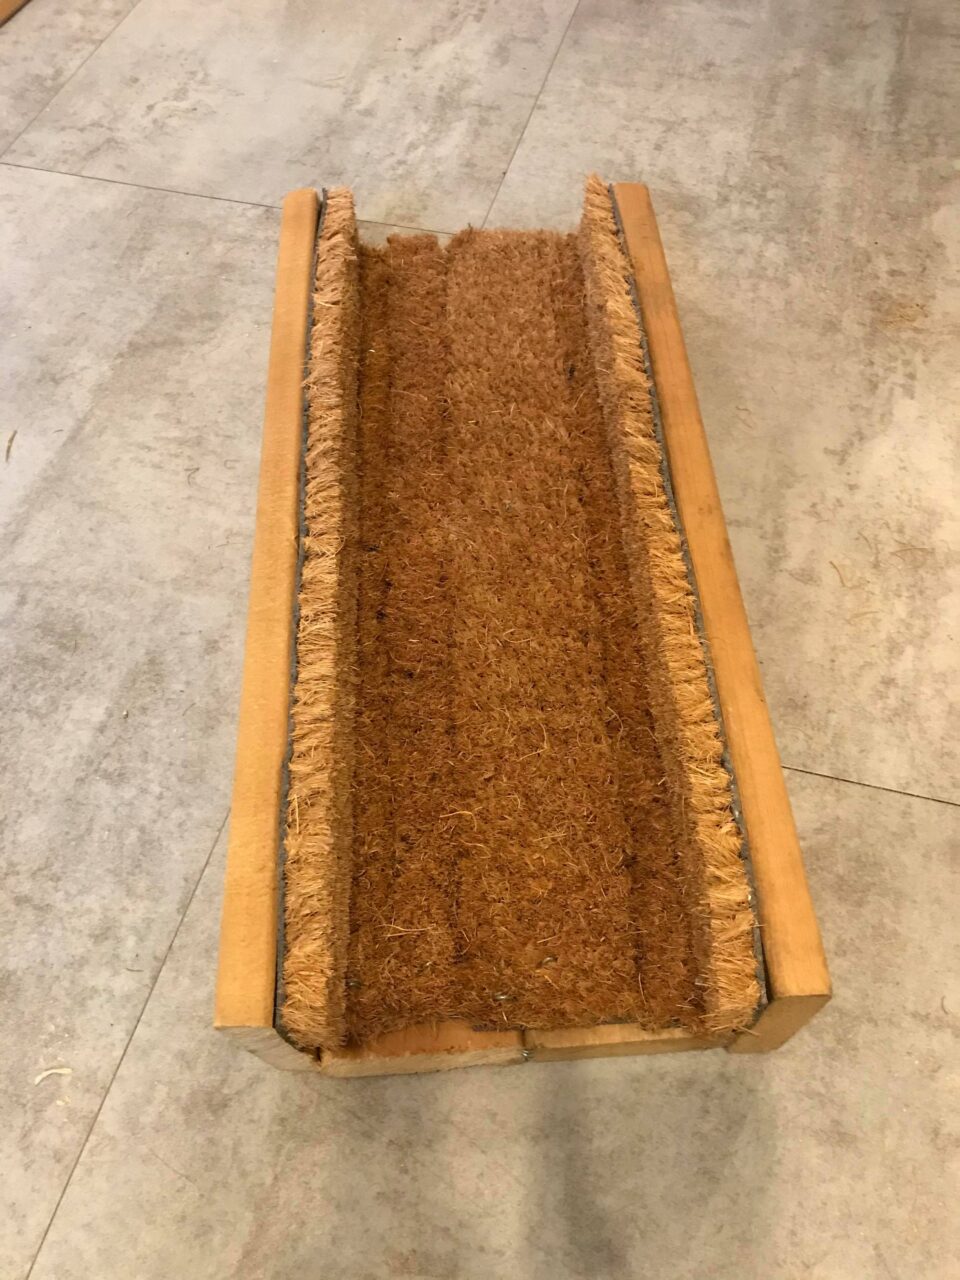
And that’s it, one very simple homemade boot brush that should hopefully save all of the mud from coming indoors!

*This post contains affiliate links. For further information on this please refer to my disclosure page.
Pin for later:

Related Posts:
How To Build A Pallet Planter
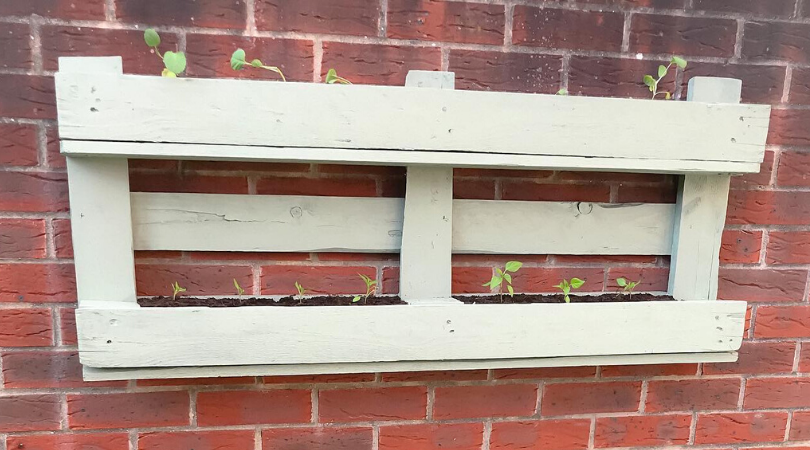
*Affiliate Links Pallets are just so versatile and can be turned into almost anything but they can also be often Read more
DIY: Building a Bughouse
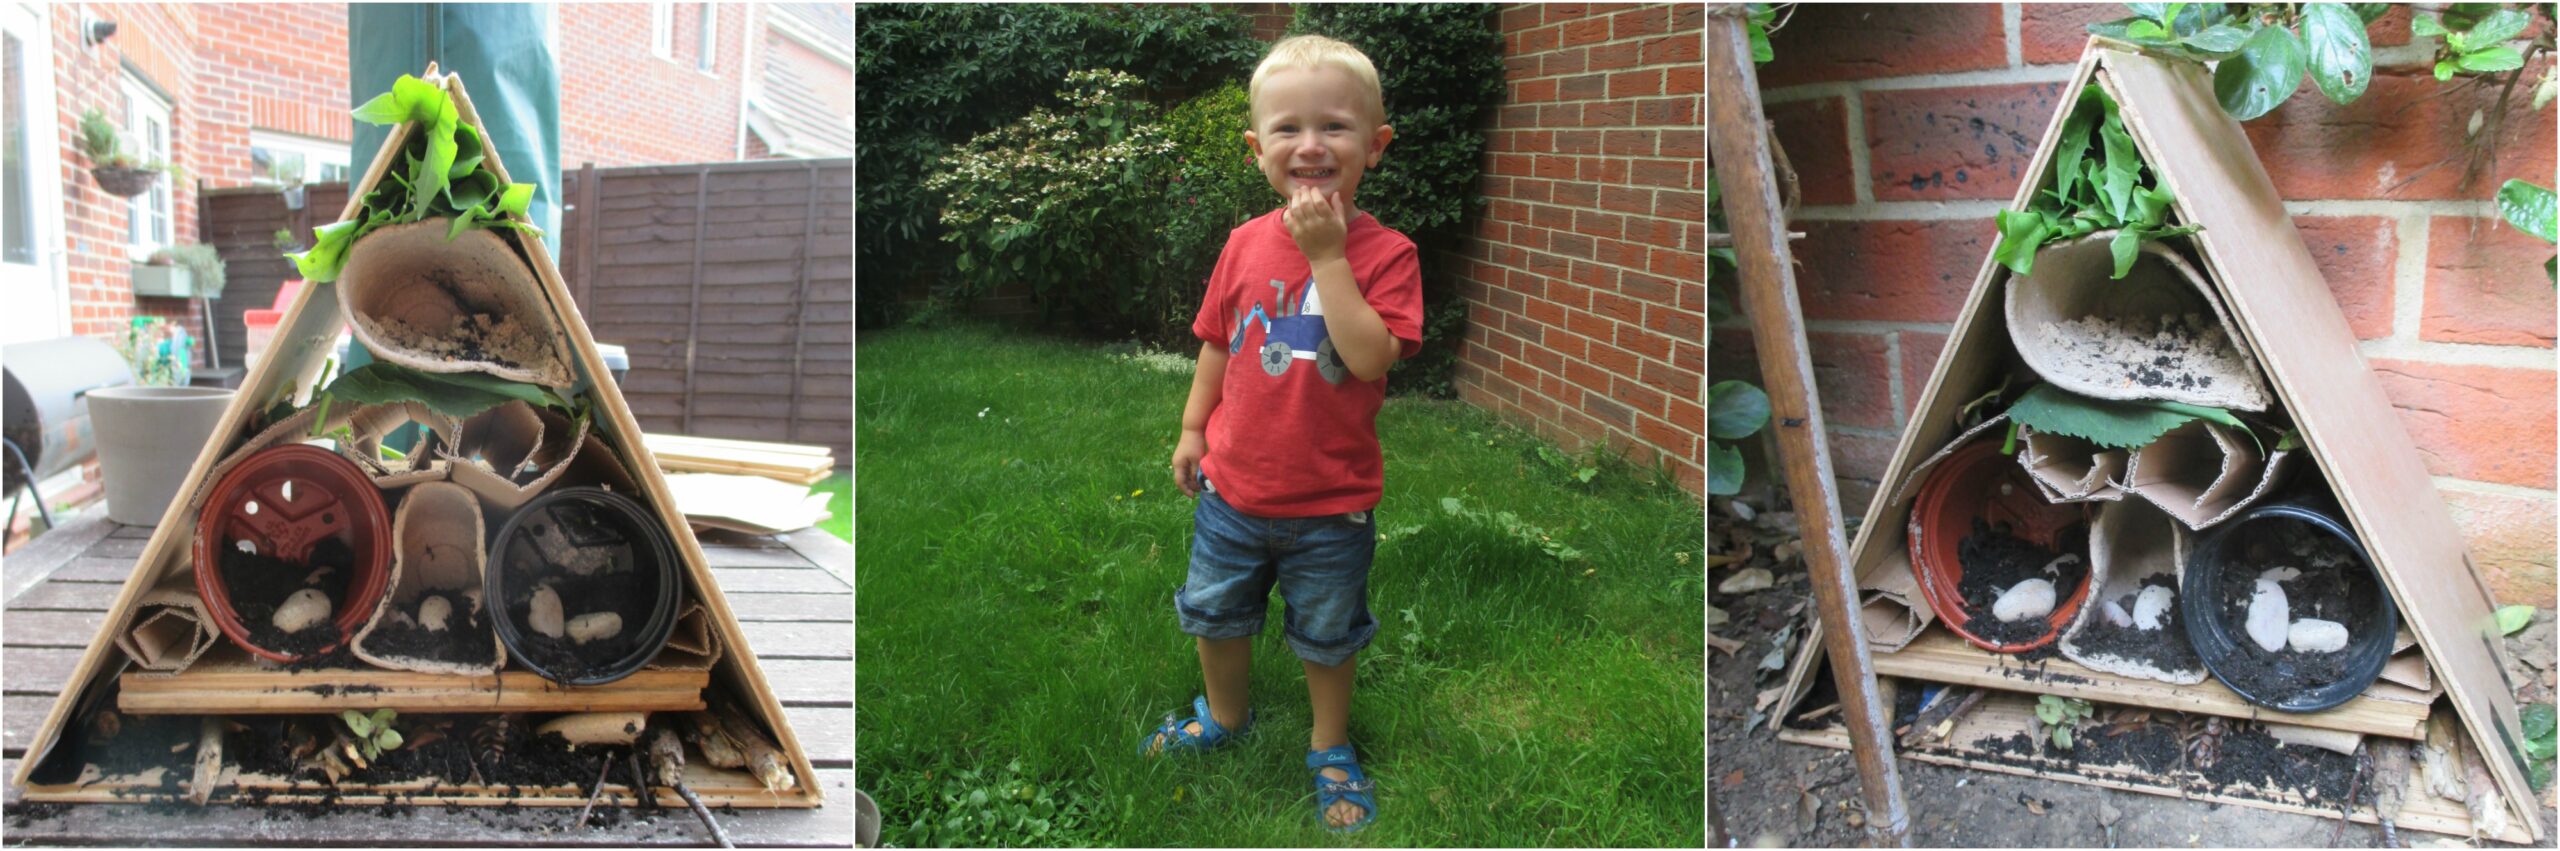
It may seem like we are always trying to get rid of unwanted pests and bugs in our garden but Read more
Kid’s Garden Ideas: How We Built The Perfect Toddler Garden
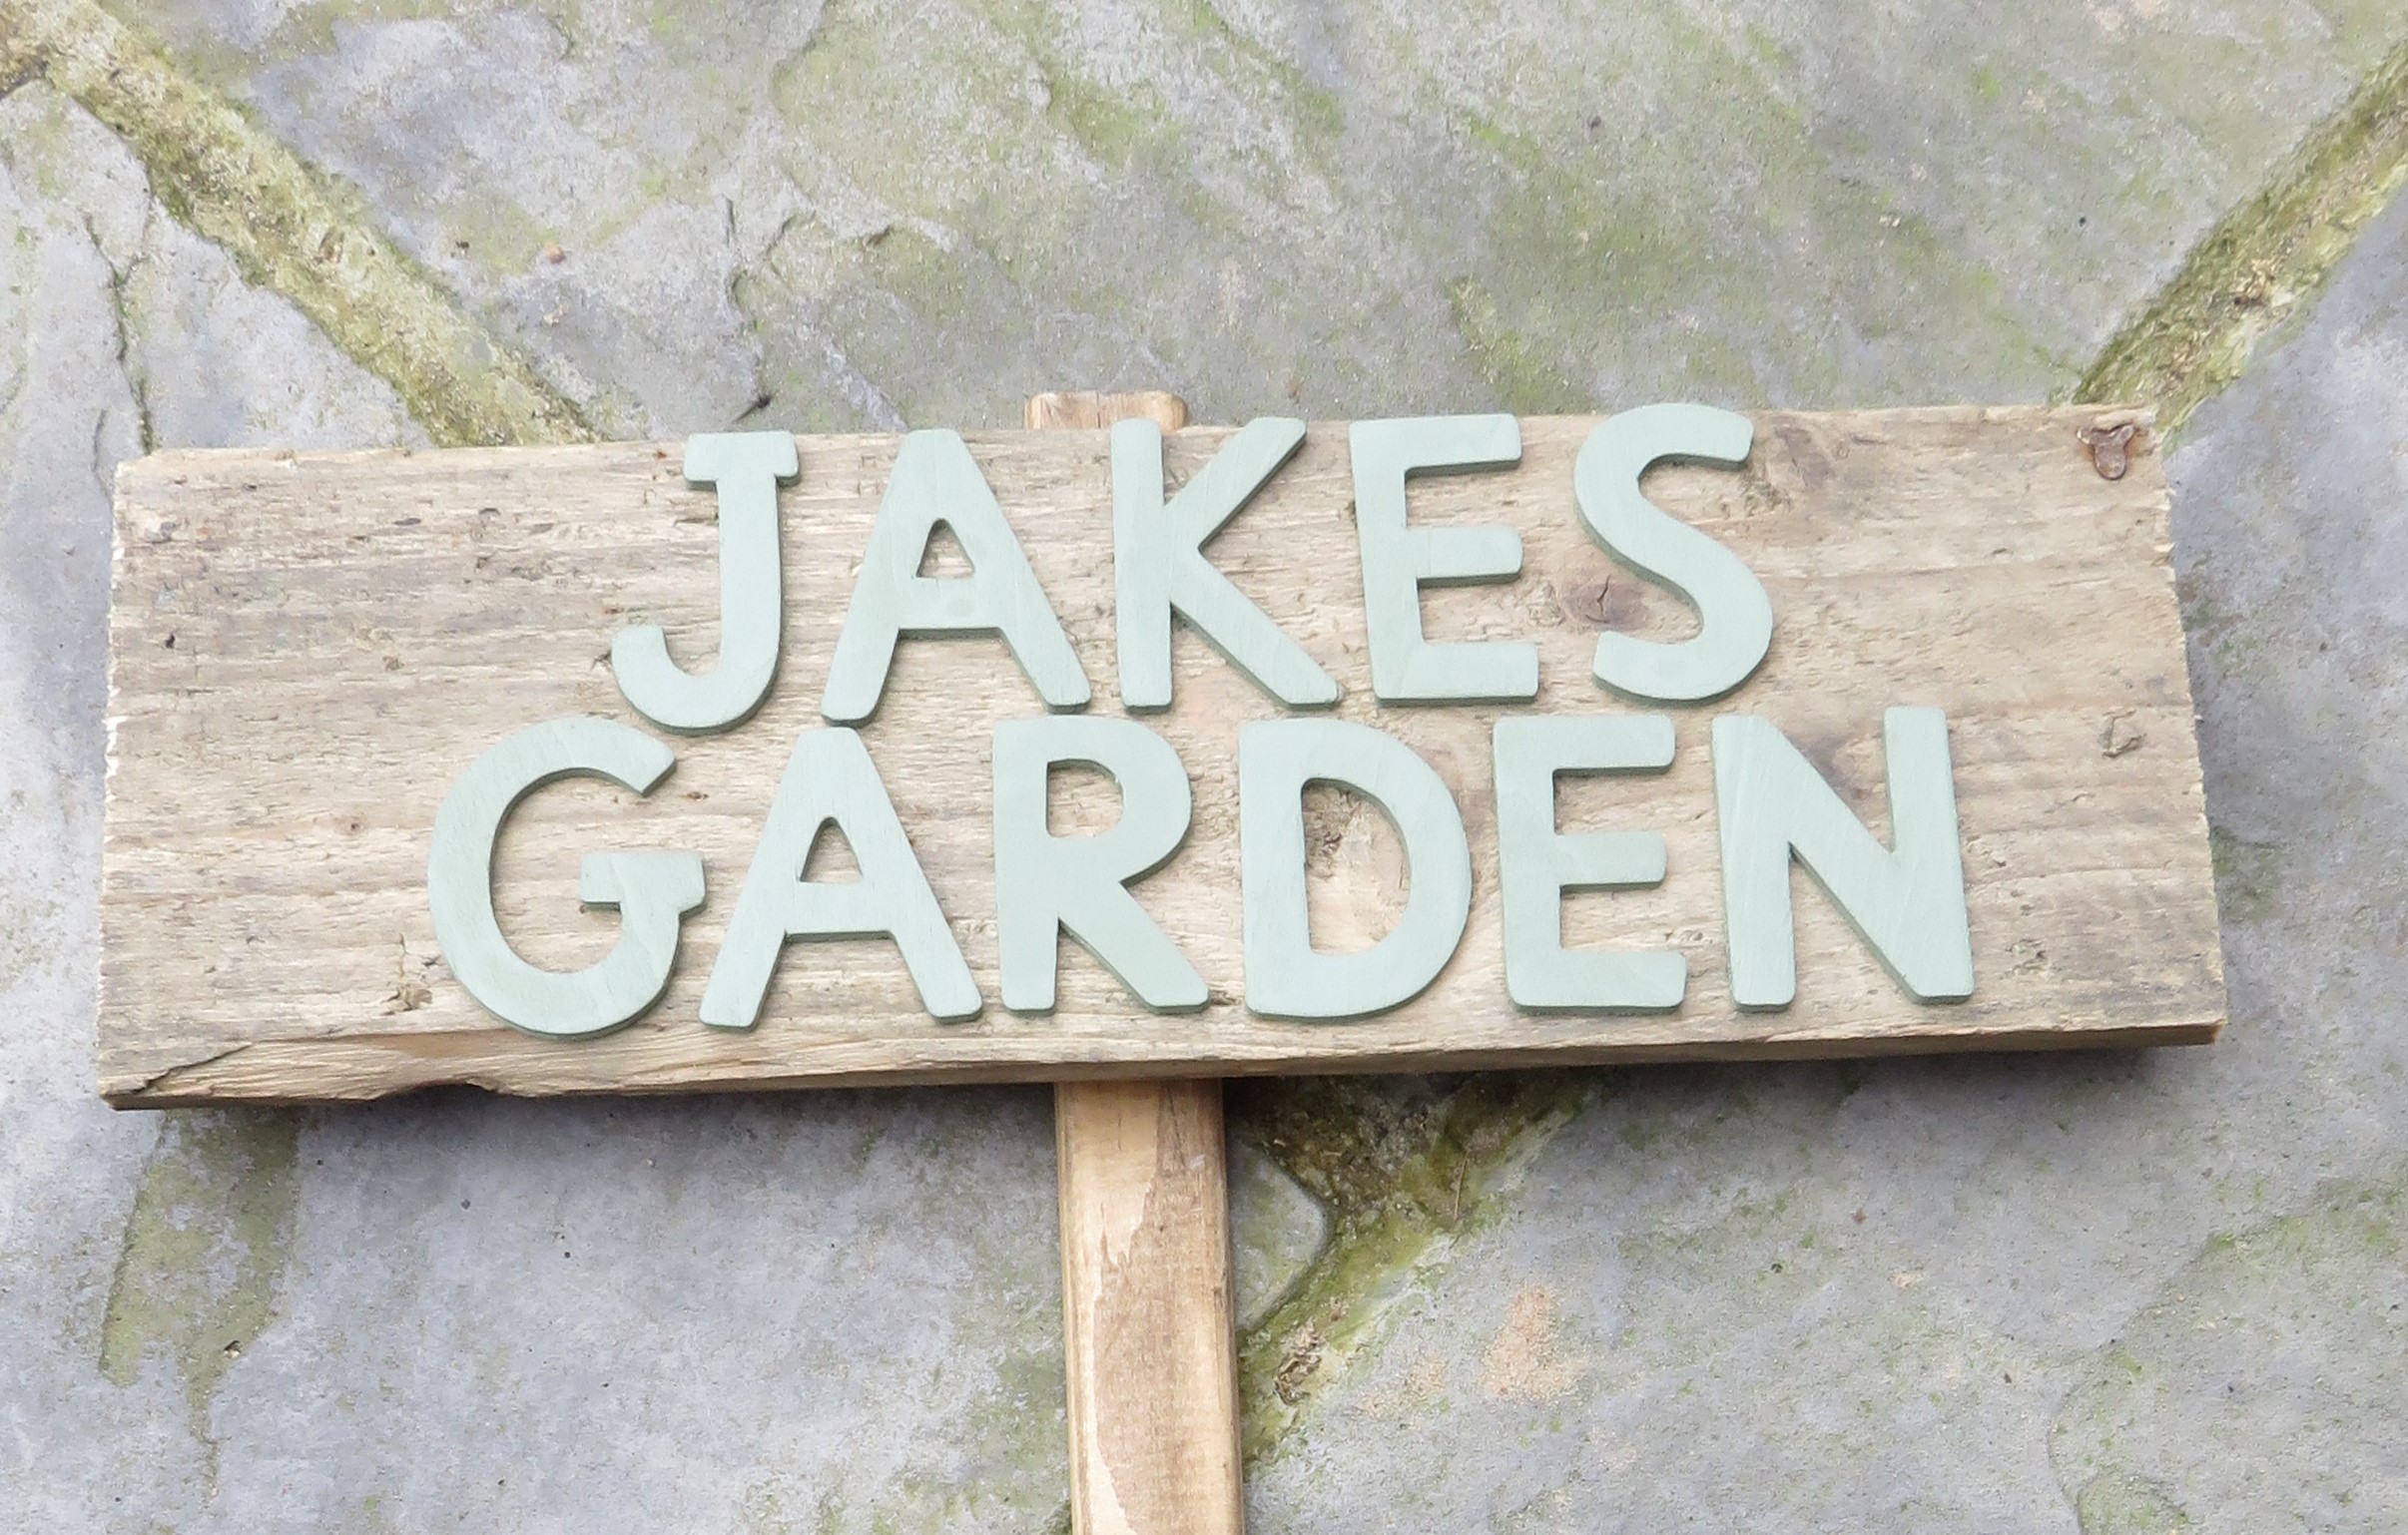
As Spring is here we decided to come up with a kid's garden idea to keep our little guy busy Read more
How To Make Your Garden ‘Greener’

When you think about being more eco-friendly, your first thoughts will probably turn to recycling, making reusable swaps in your Read more