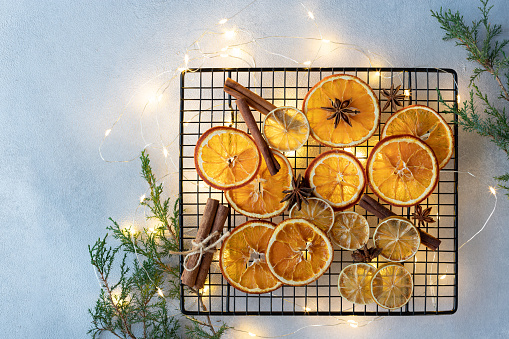
How To Make Dried Orange Slices

Dried orange slices make for a pretty and interesting addition to your Christmas wrapping, to your tree, as decorations around your home and they really are very simple to do yourself.
What You Need:
- Oranges
- Knife
- Oven
- Oven rack
Making Dried Oranges
Preheat your oven to 120° C
Start slicing your oranges to approximately 1 cm thick.
When you have enough, place them onto your oven rack. A baking tray can cause them to stick.
Pop inside the oven for 2-3 hours, regularly turning them until you have an even colour and your desired look. For a lighter orange shade you will want to take them out sooner but please note that these will be a little sticky from the juice and won’t last. A darker orange shade will have a more crispy look but these will be reusable.
Leave to cool.

Don’t worry if you have a mixture of sizes, end colour, some a little burnt, it all just adds to that gorgeous rustic effect.
You May Also Like:
– Eco-Friendly Gift Wrapping Ideas
Decorating
Once your orange slices have cooled down you can carefully make a hole in the top using a small knife or skewer and use either a ribbon or string to make them into hanging decorations, to add to a gift, to create a statement wall hanging and so on.
If you wanted to do a little extra you could glue other items to the orange slice such as a cinnamon stick or holly or you could have a go at painting them to make them really stand out.

And that’s all there is to it, dried orange slices, a very simple, eco-friendly Christmas decoration that is going to look brilliant this festive season.

Pin for later:


