How to Paint a House with Rendered Exterior Walls

*Collaborative Post
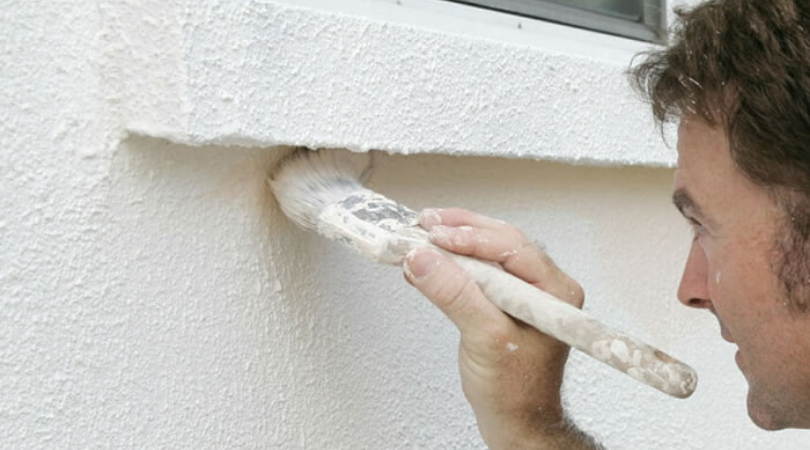
Wondered how to paint a house with rendered exterior walls? You’re not alone. All you have to do is open the tin and start painting. Surely? While there is a bit more to it than that, fortunately, it’s not a hard process, and you should have no trouble getting the job done.
Some aspects of the job are similar to other types of painting. However, there are some unique steps and directions that you should be aware of and do check this FAQ page to answer further queries you may have and get help on painting exterior walls.
Preparation Is the Key to an Amazing Finish
Preparation is important in any type of painting, but even more so when you’re painting a rendered wall. If you don’t properly prepare the surface, the paint that you apply can flake off.
- It’s important to note that even a new render will need preparation. You must take into account the hydration time of the rendering, which is also known as the dry time. Water is added into the mix to help with the application. The water, however, has to evaporate before painting.
- If you don’t wait for the water to evaporate, you could end up with cracks or bubbles in the paint.
- Before painting an older rendered wall, it’s important to clean the surface to remove moss, mould, and old paint. Repairs must also be made before painting.

Before You Start Painting
Before you open a can of paint, inspect the surface. Even the very best plasterers can make mistakes and leave some areas unplastered. Check the entire surface to ensure that it’s smooth with no missed bits and that no cracks have appeared during the drying process.
Be sure to give the areas around doors as well as windows a bit of extra attention. This is often where issues occur. If you come across anything that needs attention, use a smooth exterior surface filler to take care of the problem.
As you inspect, look for small beads of plaster that could have fallen from a trowel and adhered to the wall. Scrape these and other surface defects from the wall before painting.
One other problem that you may notice is ‘proud spots’. These are areas that did not flatten as they should have. If you find these, wet them and use a float to scrub them, using a circular motion. This will flatten them.
Additional Extras
If you’d like to make a statement on the exterior of your home, or any walls inside your house come to that, then why not consider using wall stickers to brighten it up? They are so simple to apply, come in a wide range of styles and colours and will really bring your home to life.
Don’t Forget Your Garden
We’ve discussed prepping the walls and protecting the floor but don’t overlook your garden when it comes to starting up a big job like rendering walls. There will be a high chance of your plants being trampled, being coated in plaster or paint and the soil being contaminated. If you can, protect these before work starts by covering the area with dust sheets or tarpaulin. Nature can be a great way to relax and relieve stress and if your garden is looking sparse or you just don’t have the time to tend to it, you don’t have to worry. If you are unsure about what to do for the best or if you need the garden overhauled once the job is finished, there are plenty of local gardeners who would be more than happy to help. By hiring a gardener, you’ll get the benefits of an expert opinion while freeing up time for yourself to get on with your house renovation.

Tips to Make the Job Easier
Follow the tips below to help you round off the job properly.
- Use the guidelines given on the stabilizing solution to dry out the render before painting. This normally takes at least one full day.
- Use dust sheets on the floor to protect the area from splatters and drips.
- Take the time to choose the best paint for your needs. This includes the colour. Make sure you like it. Don’t look for the most inexpensive paint; quality paint will hold up better and give you a good finish. Cheap paint can make the job a lot harder than it should be.
- Angle beads can cause issues with rust. Take care of them to avoid these rust spots from ruining your wonderful paint job.

*This is a collaborative post. For further information please refer to my disclosure page.


I am also trying to do it myself
Your tips helps me a lot. Surely I did really nice on our house. We did it with my northern beaches painting guys and we really enjoy the idea of “Preparation Is the Key to an Amazing Finish” with the proper planning our job was done nice and clean. Thank you
Rendered exterior walls certainly add to the complications when painting them. I’ve had firsthand experience in this respect, and this is something I can say with great confidence.