Seeing The Northern Lights in Tromso

We have recently returned from an absolutely dreamy trip to Tromso, Norway and one of the activities we got up to was of course seeing the Northern Lights. October is a great time of year to see them here and we were lucky enough to see them twice! So I thought I would share our experiences and tips from seeing the Northern Lights in Tromso.
Why Is Tromso So Good For Seeing The Northern Lights?
Tromso is a special location in which to see the Northern Lights as it sits right in the oval of them which means you can even see them when activity is considered to be low. Of course, this is a natural phenomenon so there is never any guarantee that you will always be lucky on your chosen night but between September and April, Tromso will give you the best chance.
Another reason for choosing to visit Tromso in order to see the lights is that this area allows you to drive in multiple directions for several hours to “chase them” which includes entering the bordering country of Finland and if you choose to go out with a knowledgeable and reputable Northern Lights Tour Company, you will have even more of a chance of catching a glimpse of this natural wonder.
What ARE The Northern Lights?
The Northern Lights also known as Aurora Borealis are the result of solar particles from solar wind and solar flare activity, colliding with atoms and molecules in the Earth’s atmosphere (the larger the solar activity, the better the lights appear to us). The results we see here on Earth are ribbons and swirls of light above some of our most Northernly countries which appear to us in a variety of colours such as dark blue, green, red, pink and orange.
How To See The Northern Lights
Personally, I would say that the best way to see the Northern Lights would be with an experienced tour company. I say this as somebody who visited Tromso with little knowledge of the area or of the lights and zero ideas of how to spot them and I wanted to come away from our trip having ticked this off of my to-see list. So, booking in with those with the know-how seemed the very sensible option.
Of course, if you are very lucky, they may simply appear over the island without the need for venturing far (this did happen a few days after we left!) or you could hire a car and attempt to find them by yourself by researching the best places in which to view them. Hiring a car is usually the most budget-friendly option but a guided tour will probably give you a higher probability of seeing the lights.
Our First Nothern Lights Experience
We arrived in Tromso on Thursday 27th October and pre-booked our tours for Friday and also Saturday night. As I mentioned before, there is no guarantee that you will see the Northern Lights (cloud, weather, visibility, low activity can all factor against you) so we opted for 2 separate tours to increase our chances. For our first tour, we were collected by a minibus (1 of 2) at around 7:30 pm and joined other hopeful travellers from all over the world to set off on a lights chase. Our tour guide on this night was cheerful, informative, fun and knowledgeable so we felt confident he would find the best spot that night. Having stopped a couple of times to check the sky for any activity, he quickly decided on a popular destination called Skibotn Lyngenfjord and sure enough, luck was on our side.
We stayed here for a few hours taking photos, watching the lights change, listening to our guide talk about how and why the Northern Lights happen and enjoying hot drinks and snacks around a campfire provided by the company. It was an absolutely wonderful experience and I felt incredibly lucky to have seen the lights on the very first attempt.
Both tours offered professional photos as part of the experience (most should include this in the price) but taking images of the Northern Lights isn’t always easy and even with an organised tour, you may not get what you were expecting… As we found out.


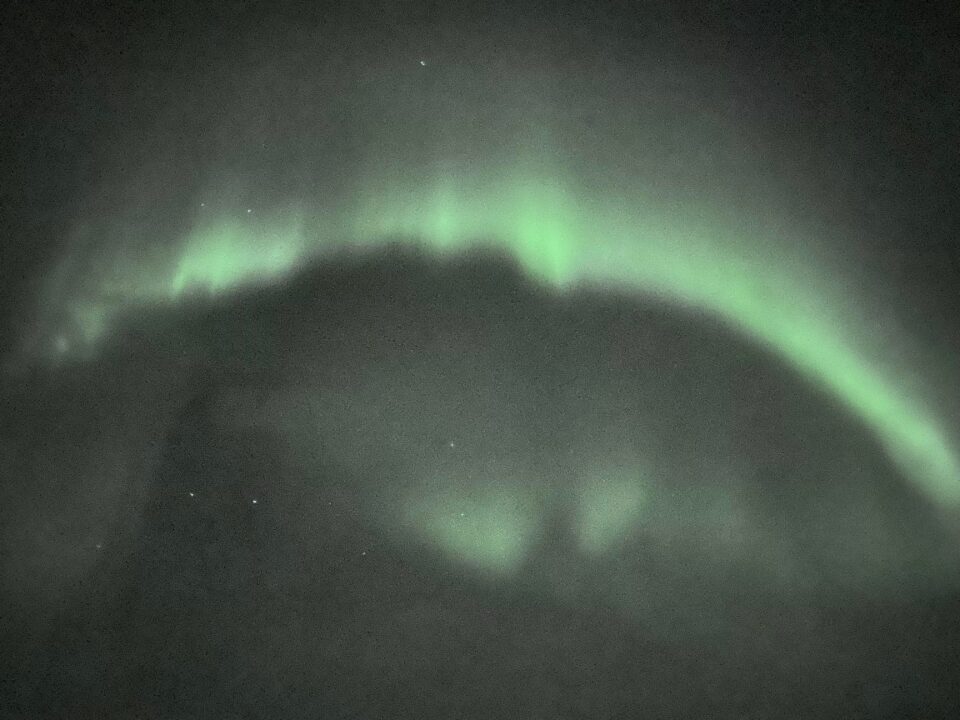
Yes, these are far better than what I picked up on my phone but the angles, light pollution and lack of photography knowledge really did leave us with photos that didn’t do the lights justice – they really did look so much better in real life. And so I felt the need to include a few tips on this next…
Taking Photos of The Northern Lights
As much as we all want to just sit back and take in the beautiful display that the Aurora gives us, we do all obviously want to try to capture some of this experience too… But this is not a simple task if you are not an avid photographer or if you just have a mobile phone (as I found out!)

One of my better photos
The best thing about capturing the lights on a camera are the results you get. The lights themselves in real life can vary in strength and colour but the camera picks can pick them up even more vividly giving us an impactful image (as you will see below). Now, I am no photographer but I have done a little bit of research and took in some of the information we were given by the tour guides and the best advice I can give is to:
Mobile Phone
- If possible, get to know your settings and have a play around at night prior to going out.
- Night mode is a common feature on a mobile phone with a 3-second delay often being the standard setting. If you can adjust this, we were told on a tour that 7-seconds + can give a better result.
- If you can adjust the ISO on your phone choose 800.
- The key is to keep as still as possible during the capture so a tripod can be a really useful tool here.
- Try to steer clear of any other lights.
- Another tip I have read online is to have something in shot in the foreground, this gives the phone other things to focus on, not just a big black sky.
Camera
- Set your camera to manual mode.
- Set the focus to Infinity.
- Set the ISO to around 3200. ISO is all about light sensitivity and poor light requires high ISO.
- You need the aperture (f) to be as wide as possible (the lowest number), f: 1.8, f: 2.8, f: 3.2
- Use the fastest possible shutter speed to freeze the Northern Lights’ movements. Anything from 2-30 seconds can work depending on your camera type.
- Use a tripod to keep the camera steady.
- Again, stay away from any light pollution.
- Use a torch or small light to quickly shine at the subjects/Northern Lights when you first hit the capture button. This helps to make the colours pop.
If you get it right you can end up with something that looks like this:

The Second Northern Lights Tour
Each tour can vary and this one started at 6 pm, much earlier than the previous one. The reason for this is so that the guide has time to chase those lights as far as is required and in this case, we happened to chase them across the border into Finland. That’s a 3-hour drive in case you were wondering.
The first differences to note between this tour and the first one were that the bus was far more comfortable and more modern, the guide provided all of his knowledge on the journey as he wanted to give us plenty of time to see the lights once we reached our destination plus they provided snow suits and boots (which were most definitely needed!) as well as hot soup. Like the first tour, they also had hot drinks and a campfire.
The destination this time around was very desolate with no light pollution to impose on the Aurora Borealis show. In fact, at one stage, we were standing on a frozen lake which sits between Finland, Norway and Sweden. It was definitely the type of place where I had always imagined viewing the Northern Lights from. And, even though our tour guide wasn’t too sure if we would see the lights due to the snow clouds, the night did not disappoint and for the second time, we got to see a wonderful display over several hours.
Again, my phone wasn’t up to much but this tour guide loved photography and he captured these amazing photos for us to treasure:


Images and Tour courtesy of Wandering Owl
Another magical experience and I feel incredibly lucky to be able to say that we came away having seen the lights on both of the nights that we ventured out. You can book with Wandering Owl here.
My Top Tips For Seeing The Northern Lights
- Do your research and read the reviews and book a tour
- Then book another just in case!
- Mentally prepare yourself for a long drive and late night
- Take water and snacks and possibly a pillow for the drive back
- Wear weather-appropriate clothing – thermal base layers, thermal socks, walking or snow boots, thick jumper, layer clothing underneath, thermal/warm trousers, hat, good gloves and scarf
- If you do get cold ask your tour guide if they have extra clothing or blankets (they should have a campfire going)
- Listen to your tour guide and be prepared to jump back into the minibus at short notice. The same goes for photo opps!
- Don’t get disheartened if you can’t see much. The lights change and flicker quite fast and as each hour passes this can completely turn around and suddenly give you a brilliant display. If it doesn’t, you can always try again.
- Enjoy every moment! Honestly just take it all in, don’t get bogged down by camera settings, look up and make those memories.
If you’ve seen the Northern Lights in Tromso and have any further tips feel free to leave them in the comments below for others to read.

Pin for later:


