Simple Pumpkin Carving How To – no kits needed
Halloween really is all about the pumpkins now isn’t it and with this comes the pressure to carve the ‘perfect’ pumpkin for your home. I’ve noticed a rise in the stunning designs appearing all over social media but if like me, you don’t want to buy a pumpkin carving kit full of all the tools and stencils to give you this look then this post is for you.
I believe that brilliantly carved pumpkins can be easily achieved at home with tools found in the kitchen and I also believe that they do not need to be perfect… they look fab a little rough around the edges, after all, it is Halloween!
What Will You Need?
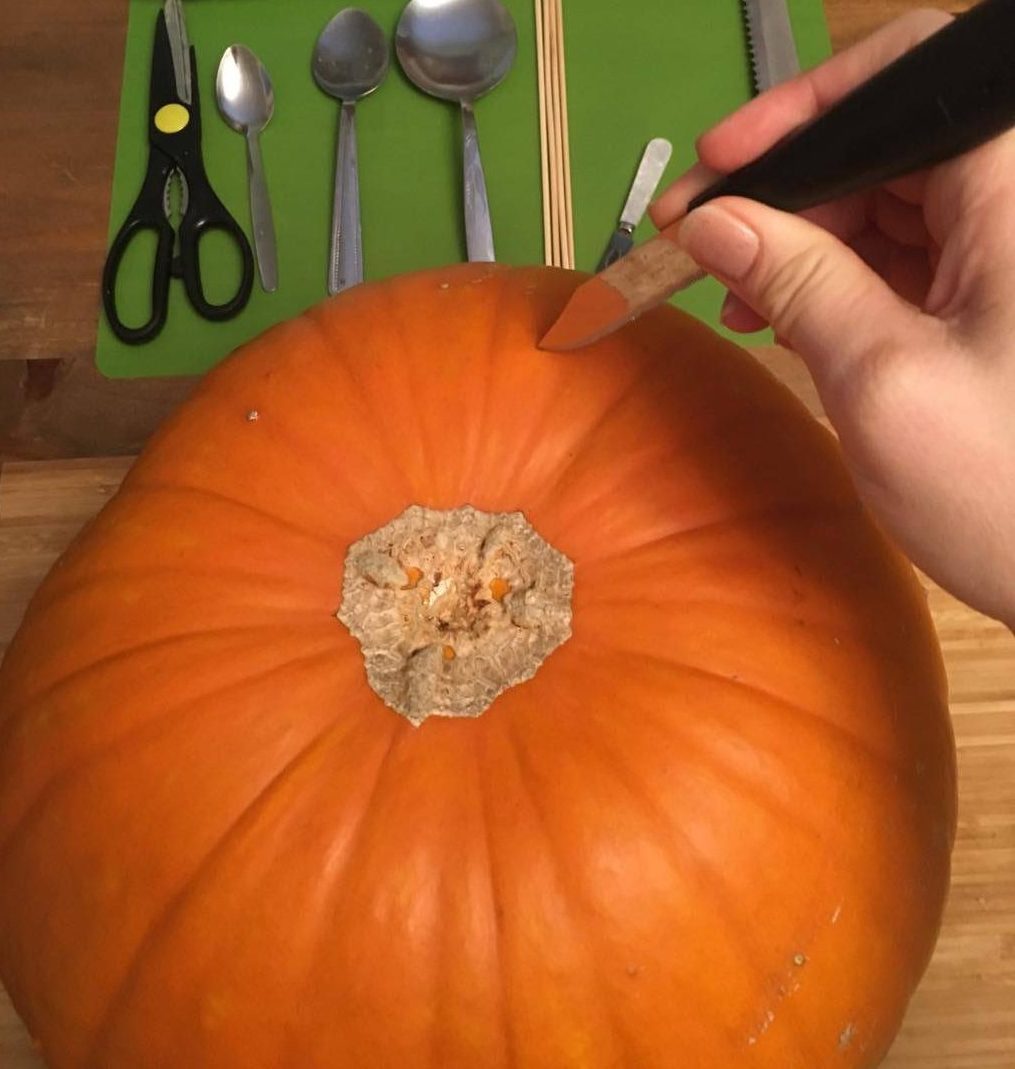
My personal choices are:
- A soft damp cloth
- Marker pen
- Bread knife
- Variety of smaller knives including a blunt one for small hands
- Kebab skewers
- Range of spoons
- Scissors
- Mixing bowl to put the pumpkin insides into
Start by working out where you are going to make the incision on the top– you can lightly mark this with a small sharp knife and then follow your lines with a larger knife if you are worried you will go wrong. Aim your knife downwards into the pumpkin and use slow actions.

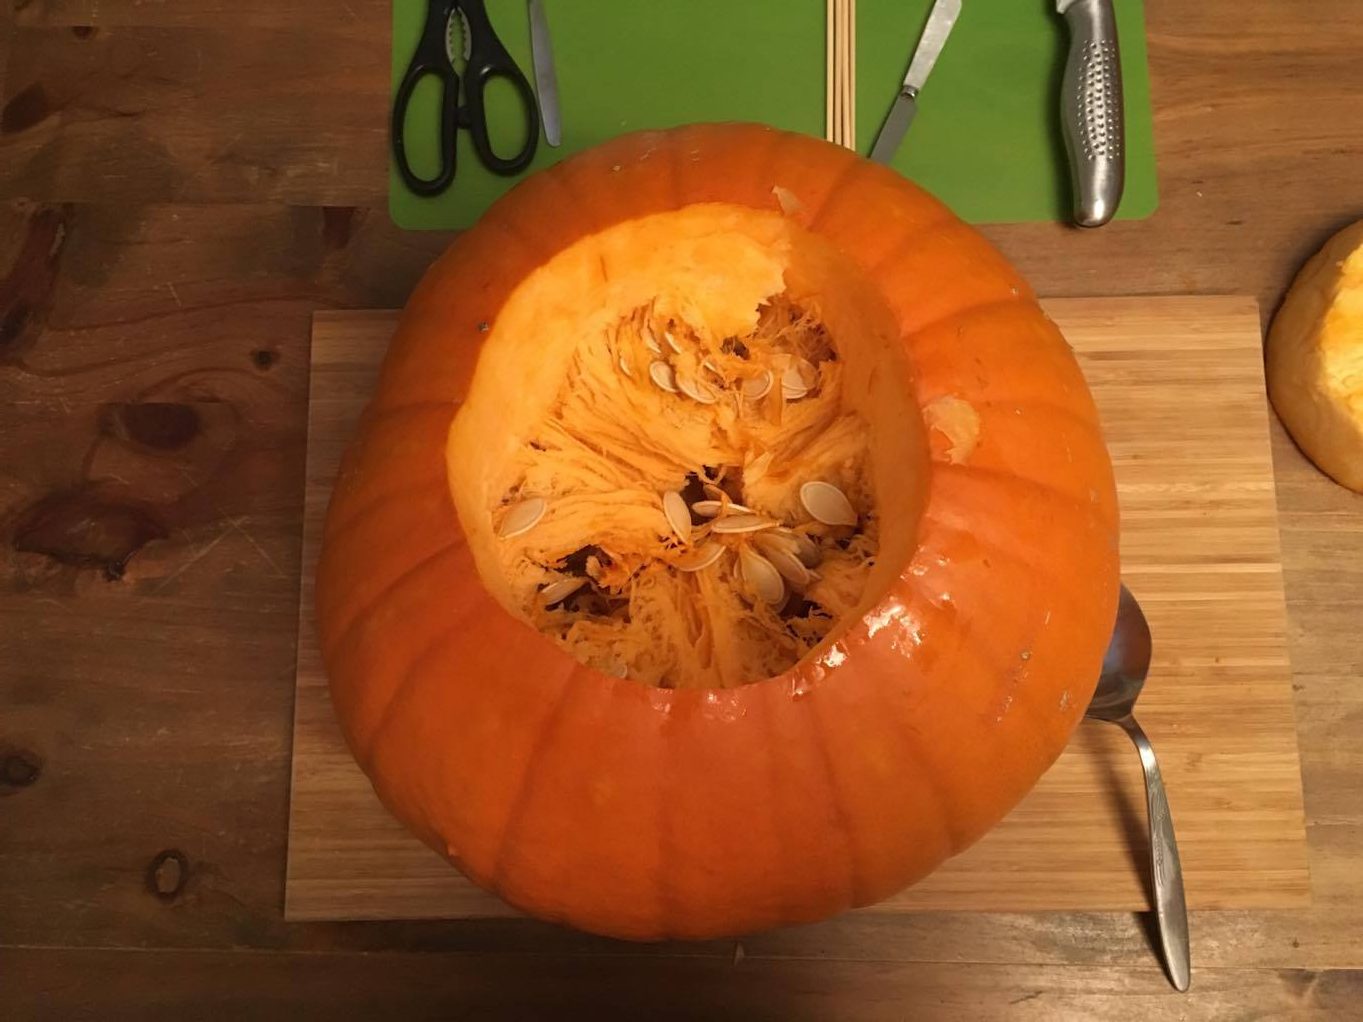
Once your lid is off you can start to get nice and mucky! Be warned that some pumpkins can really smell. I find that a large spoon works the best for pulling the inside out and for scraping the sides. Knives can be very tricky to use and you can end up cutting into the sides without meaning to. The spoon does a much better, cleaner plus safer job. You may get the occasional stringy one which can take more time than the actual carving itself but you want to get as smooth edges as possible to prevent any singeing once your candle is lit inside.


Once you are happy with this you can start to think about your chosen design. I used the internet to find inspiration. Last year I printed out the images and cut them out to use as templates but as I had five pumpkins to do this year I felt that this would take up too much time so opted to go freehand. I am no artist and I made a lot of mistakes but this is where your pen and damp cloth come in handy.
Use the pen to do a rough sketch of what you want on the best side of your pumpkin. If this goes wrong, simply rub away with your soft damp cloth. Have another go at your design but don’t panic if it’s not quite right, it will probably alter as you carve anyway.

I then take my small sharp knife and carefully mark out the shape before I start to cut. I know a lot of people use blades and I should really look into this for next year but a small knife can still work a treat.
As you cut just take your time and be careful. It’s tricky when you have small children as they want to join in so if you can give them a few jobs along the way, such as scooping the pumpkins out, choosing a design and giving them a blunt knife to have a go at removing some of the rough areas they will be happy.


Jake picked his designs on the laptop and then helped me scoop the insides out.

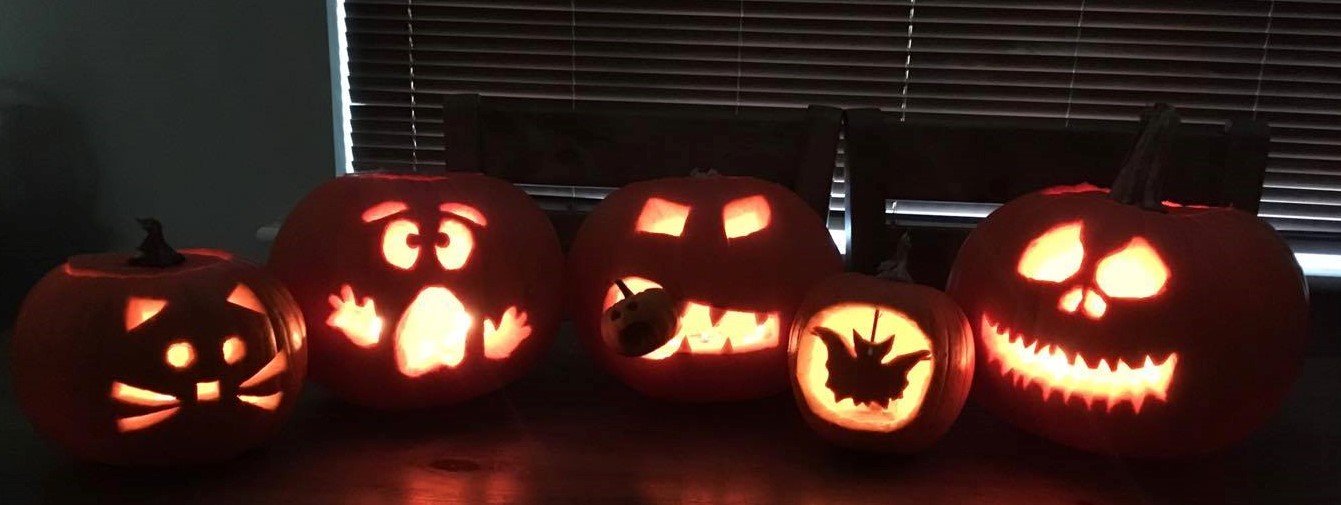
And here is one of our finished designs. You can probably see that it isn’t perfect and a little rough around the edges but just look at how amazing they look as a collection, especially when lit up in the dark.


Now you are probably wondering why you may need kebab skewers… The bat design is being held up by three cut kebab skewers pierced into the pumpkin. I also used this idea a couple of years ago when I did a cat and stars design:

Weirdly, I find pumpkin carving quite therapeutic to do and as long as you don’t put too much pressure on yourself you can really have fun as a family with them. I reckon that if I can do these anybody can!

Good luck with your pumpkin carving.
Happy Halloween!

Pin for later:

Related Posts:
7 Ways You Can Be More Eco-Friendly This Halloween

With our awareness of the need to reduce waste now growing and trying to find ways to be more eco-friendly, Read more
Halloween Fun at Wellington Country Park
Halloween may not be for everyone but for me it is one of my favourite times of the year. This Read more
Pumpkin Picking at Pickwell Farm
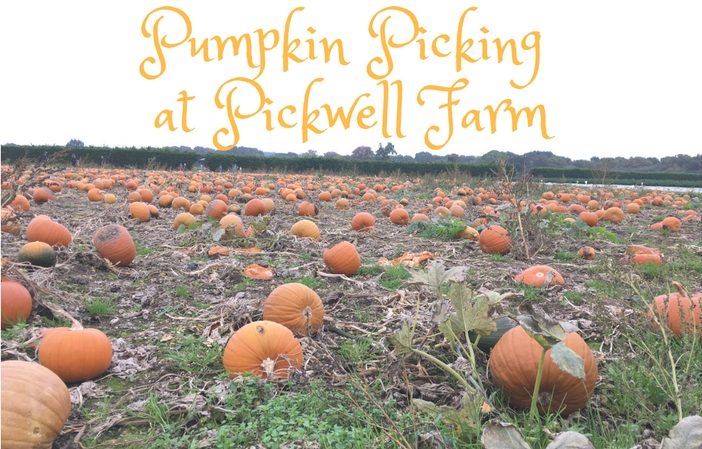
As Instagram and Facebook have slowly been filling up with beautiful pictures of pumpkin patches I felt as though I Read more
10 Plastic-Free Party Bag Favour Ideas

*Affiliate Links When you are trying your best to be more eco-friendly and plastic-free there can be certain times in Read more