
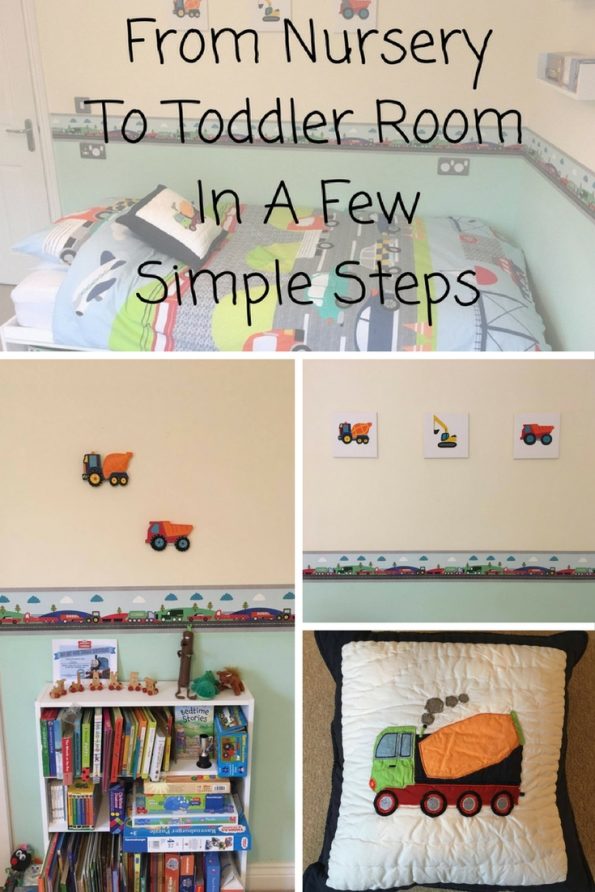
From Nursery To Toddler Room In A Few Simple Steps
*Gifted Product
With a new baby on the way we felt it was time to put some focus onto Jake. We decided the best way to do this was to update his bedroom before we begin on the new nursery. His room has been kept almost the same since he was born and as he will be four this year we felt it was time for it to shift from nursery to toddler room. This is how we achieved it in a few simple steps…
BEFORE:


It was all very cutesy but now that he’s a boy who is very much into trucks, diggers, trains, tractors etc. and he needed a room to reflect this.
With the theme in mind, I set about searching the internet for products that could replace his nursery items and update his room without costing us too much money and without the need for any redecorating.
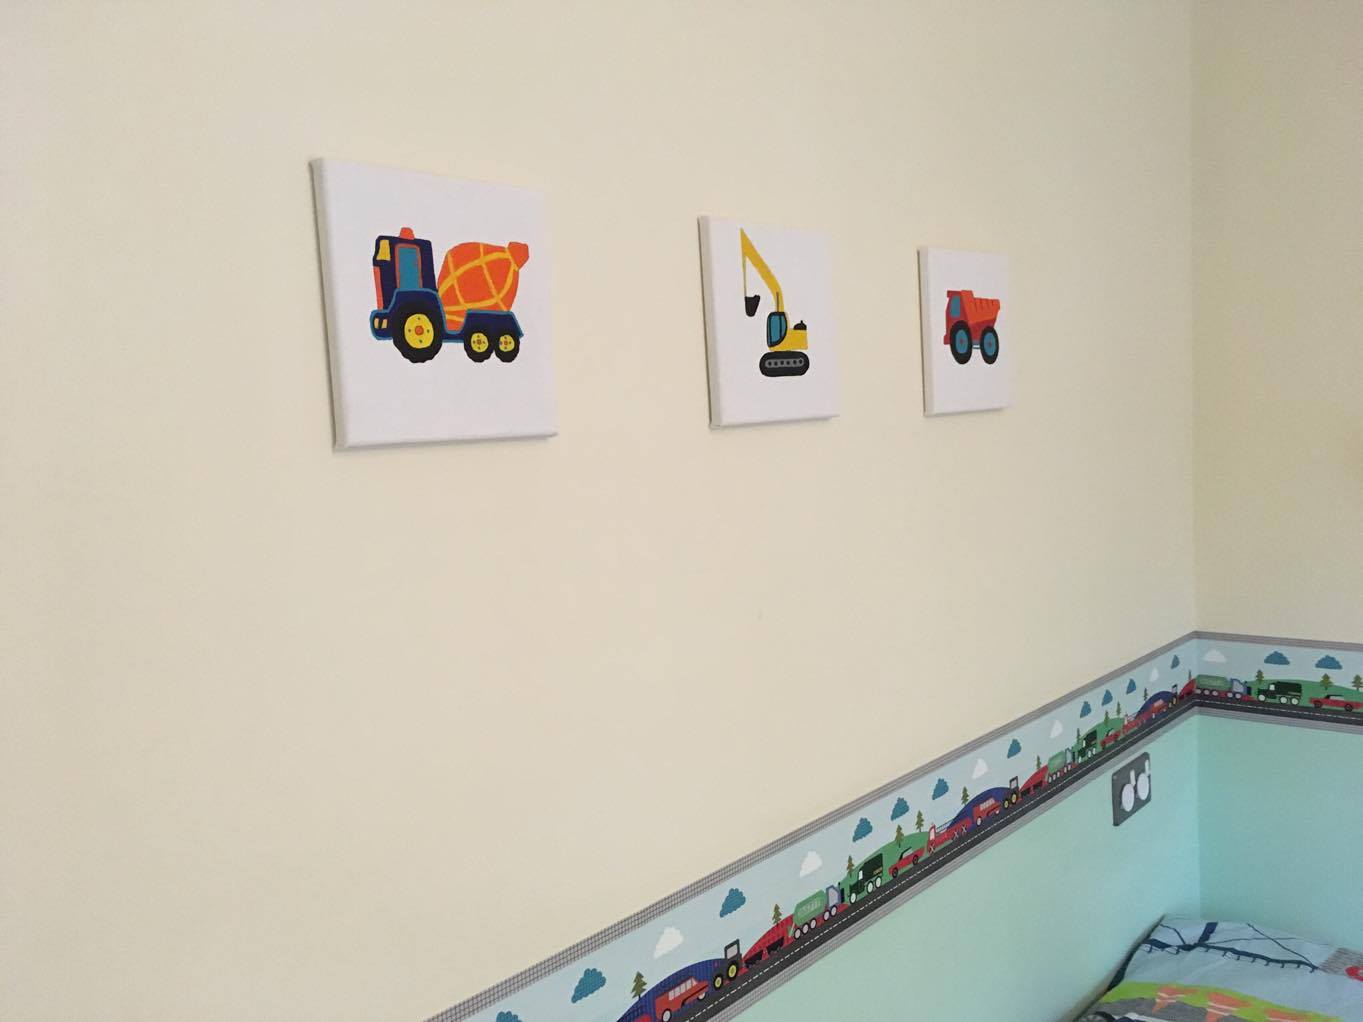
Canvas Picture Painting
The first change in mind was the canvas pictures, which turned out to be the biggest problem and challenge! I hunted on every site imaginable for three canvasses the same size as the bear ones or near on. I wanted one image of a truck, one of a digger and one of a cement mixer… or something as close to that as I could get. Could I find any? No. What I wanted did not seem to exist. I looked on Etsy to enquire about having some commissioned but I just could not justify the prices (some were over £75!) because for all I knew he could be into something different next year. I then had an idea…
I had spotted that Home Bargains sold three blank canvasses for under £3 and even though I don’t have an ounce of an artists flair in my body I decided it was worth me giving it a go and getting what Jake wanted than paying out for somebody else to do it. Using his new ornaments as stencils I easily drew around these to get the basic shape which gave me something to work to. The hardest part was applying the paint… I have a new found respect for anybody who paints freehand.
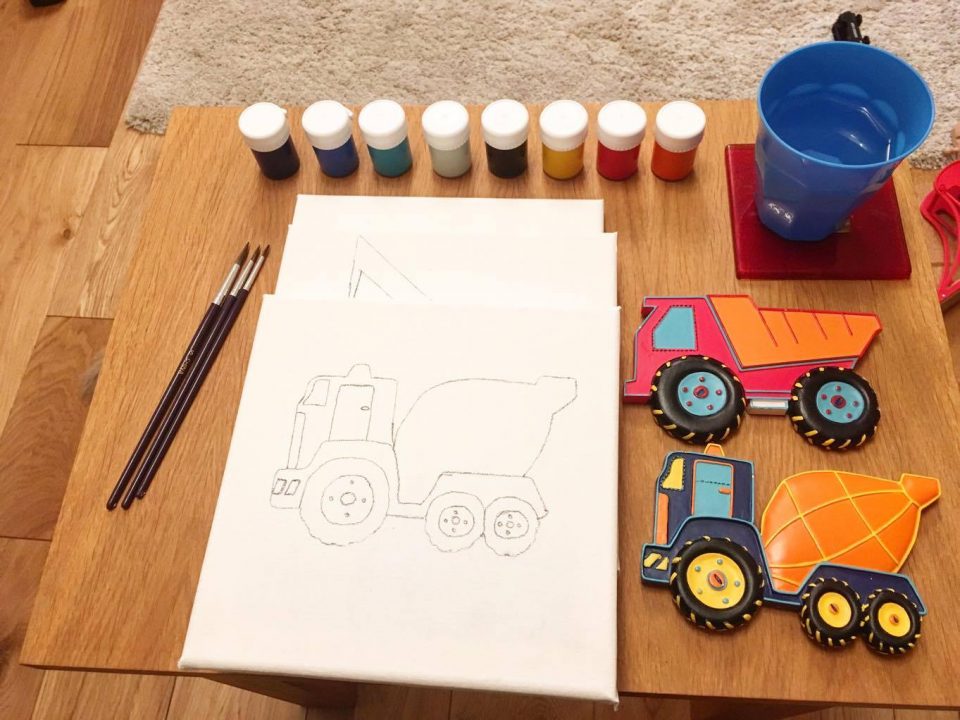
I spent several nights working on adding the colour and trying to get it as neat as possible… I knew Jake wouldn’t notice a few mistakes but I definitely would! The finished pictures aren’t perfect but they are the best I could do and he loves them, so that is all that matters.

All in all, I probably spent around £15 on these after purchasing a large set of acrylic paints and brushes on top of the canvasses.
New Pre-Loved Ornaments
The ornaments that I drew around were £1.50 each and from a charity shop can you believe?! They were perfect for going up on his wall.

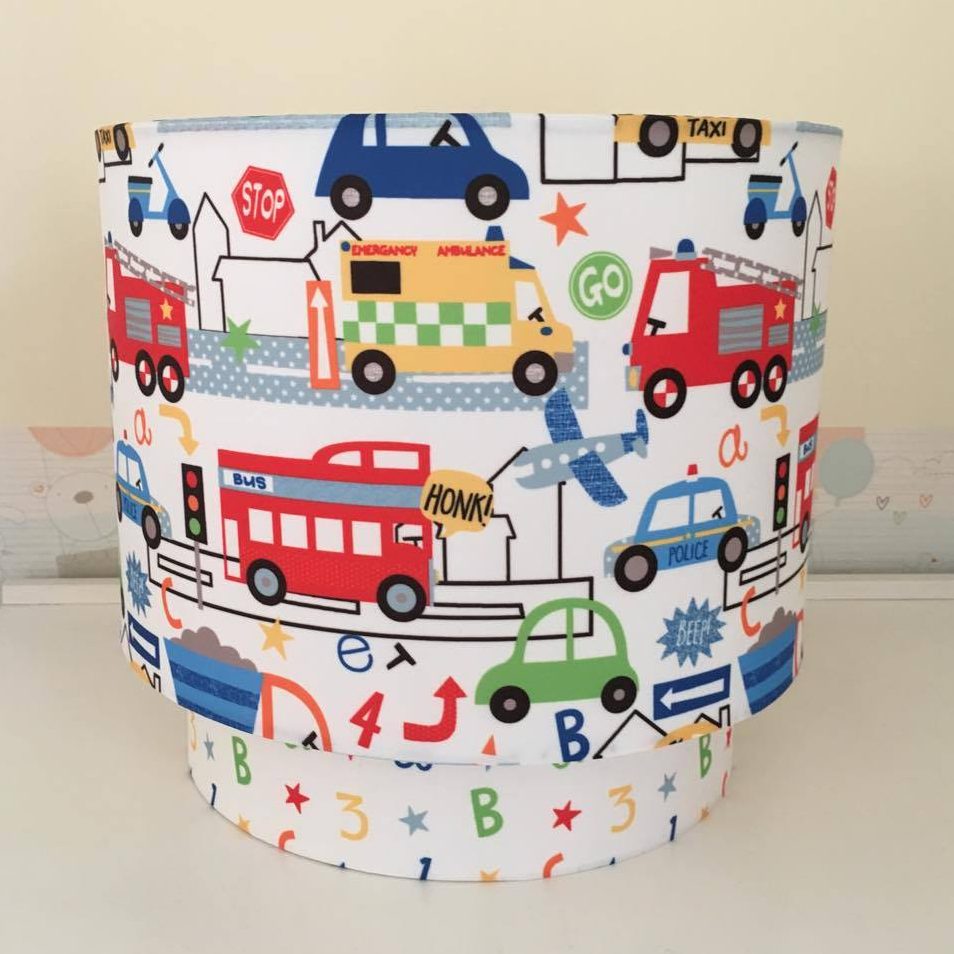
Light Shade
My next purchase was a new light shade with the vehicle theme continuing. I bought this from eBay for £19.99.

Border
The border was also a difficult choice because there are just so many available. I looked at several styles repeatedly over a week before finally deciding on this one from eBay. It is £8.95 a roll and we needed 2 to complete his room.
Quick tip: It is self-adhesive but if you use wallpaper paste on the wall it will come off much more easily when you come to change the room again and shouldn’t pull the paintwork away.
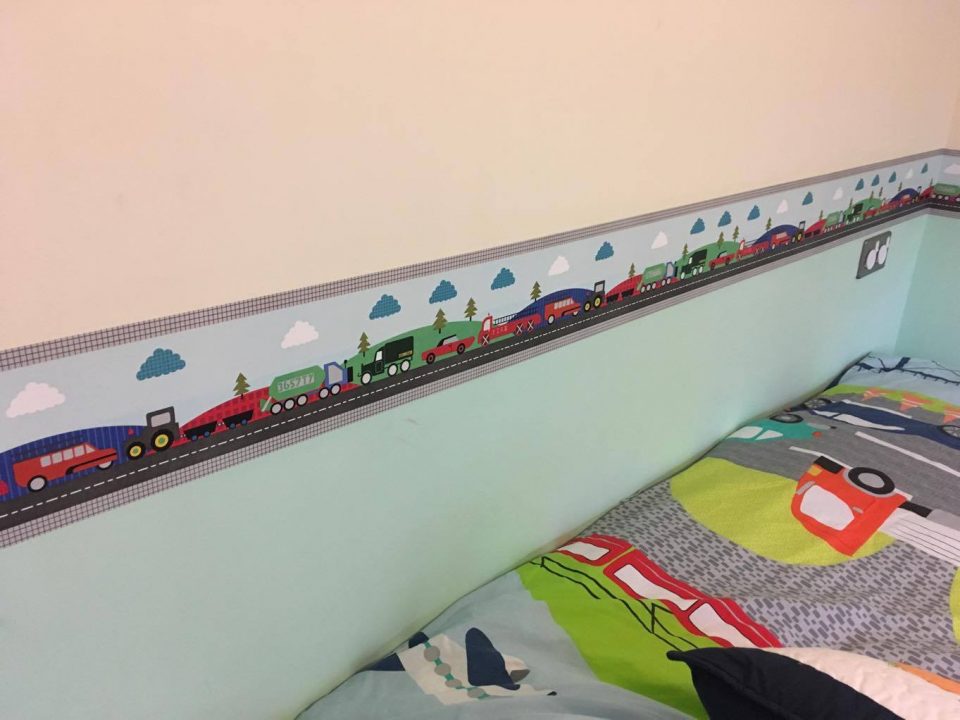
I was very happy to see how well it tied in with his current bedspread.
Cushion
The finishing touch came courtesy of Ollie and Leila who contacted me about reviewing their truck cushion which was perfect for Jake’s room. This cushion is handmade from 100% cotton and the detail in the truck is just brilliant. It is padded on the cushion front for comfort and is also machine washable at 30° which is always a plus when you have a child who often has mucky paws! I really love the tie detail on the back instead of a zip.
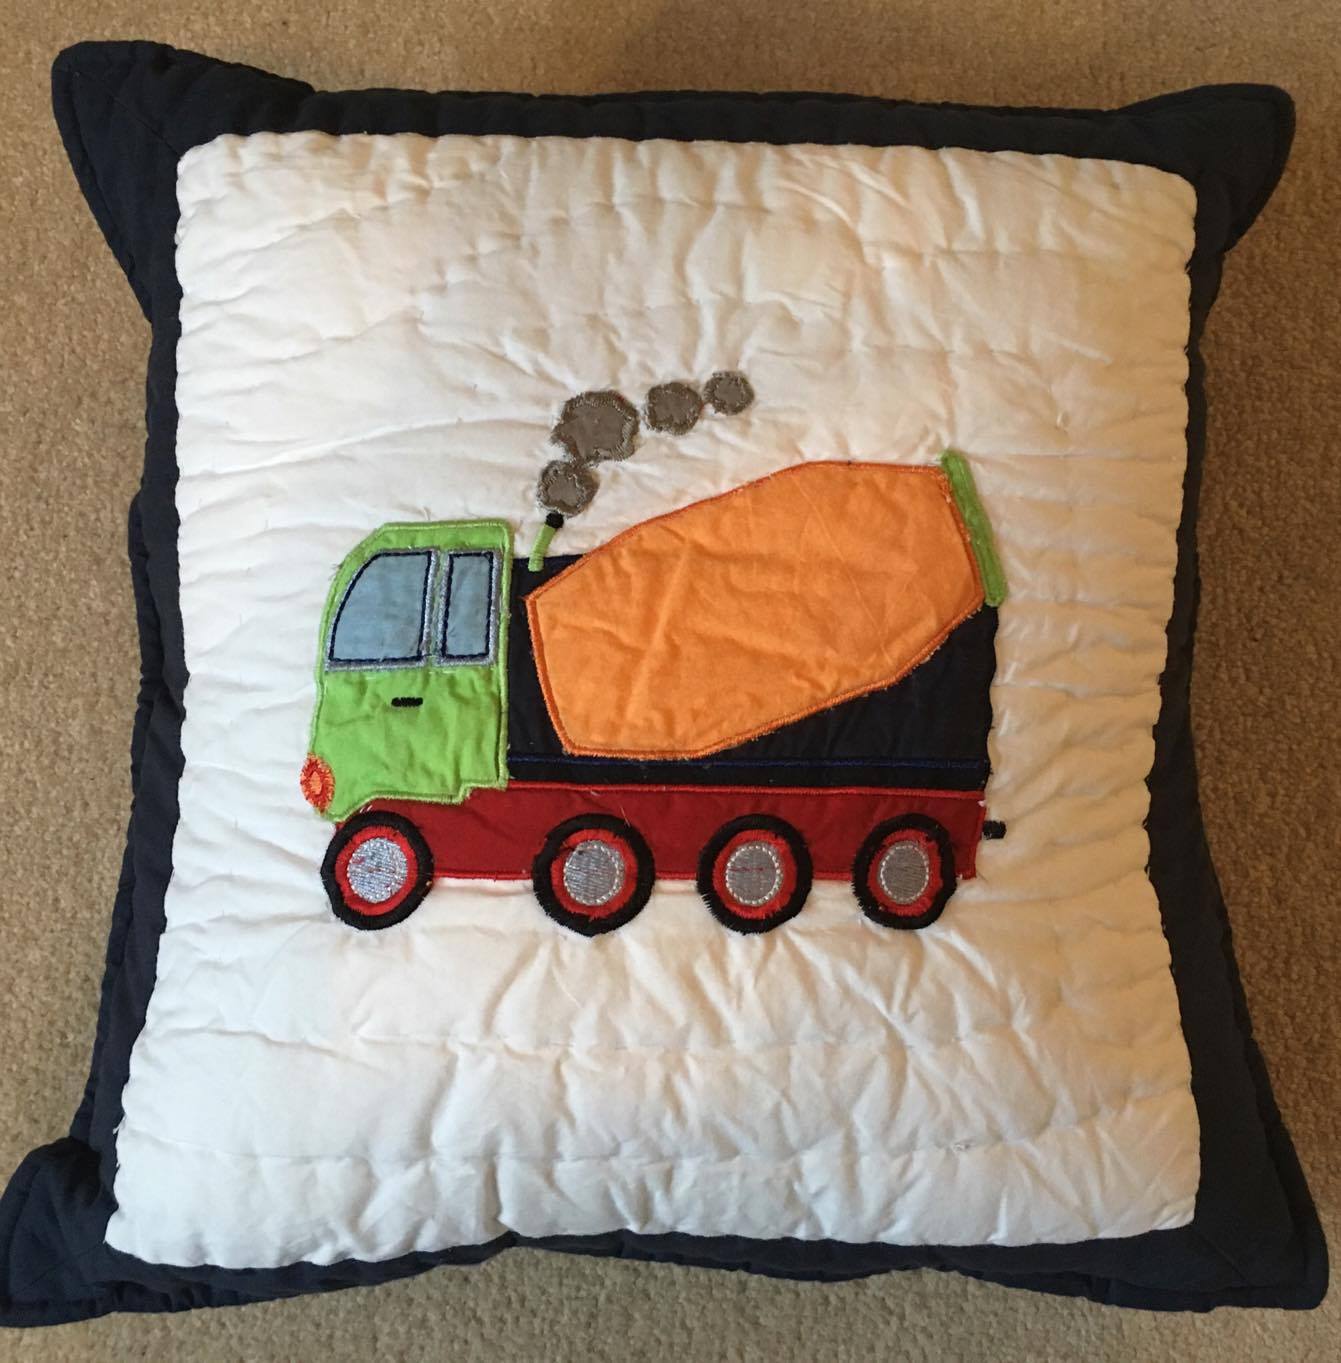

As soon as it came out of the packaging, Jake was jumping for joy and couldn’t wait to put it on his bed.

AFTER:
And here is the completed look:


So, I have one very happy three-year-old who thinks he says his new toddler room is now ‘very cool’ and we did it all for approximately £80 and not a paint tin in sight.

*I received the cushion in exchange for this review. As always all views are my own and honest. For more information please refer to my disclosure page.
Pin me for later:
Related Posts:
The Digital Doctor is In: Why More Mums Are Embracing Online GP Appointments

As a mum, navigating the daily juggle of family life, work, school runs, and everything in between leaves little room Read more
6 Simple Steps For Improving Your Home On A Budget

How many times in the last year have you looked at your home and put off doing it up due Read more
Making the Kitchen Child-Friendly

*Collaborative Post More accidents happen in kitchens than any other room in the home, and many of them involve small Read more
Reusable Water Balloons Review

Many years ago, before I fully realised the impact we were having on the environment with our disposable lifestyles, we Read more